Remember when it seemed like everyone was learning how to contour? The technique, previously done mostly by pro makeup artists and drag queens, had us all scrambling to etch out our cheeks—and we mean really etch them out. The preferred effect back then was dramatic and severe, in a good way.
But in 2023, the trend is leaning toward something a little less intense. We’re in our soft sculpting era now. This technique, made trendy on TikTok, applies the basic mechanics of contouring as we initially learned them: defining your face and accentuating its angles by emphasizing the way shadows naturally appear on your skin.
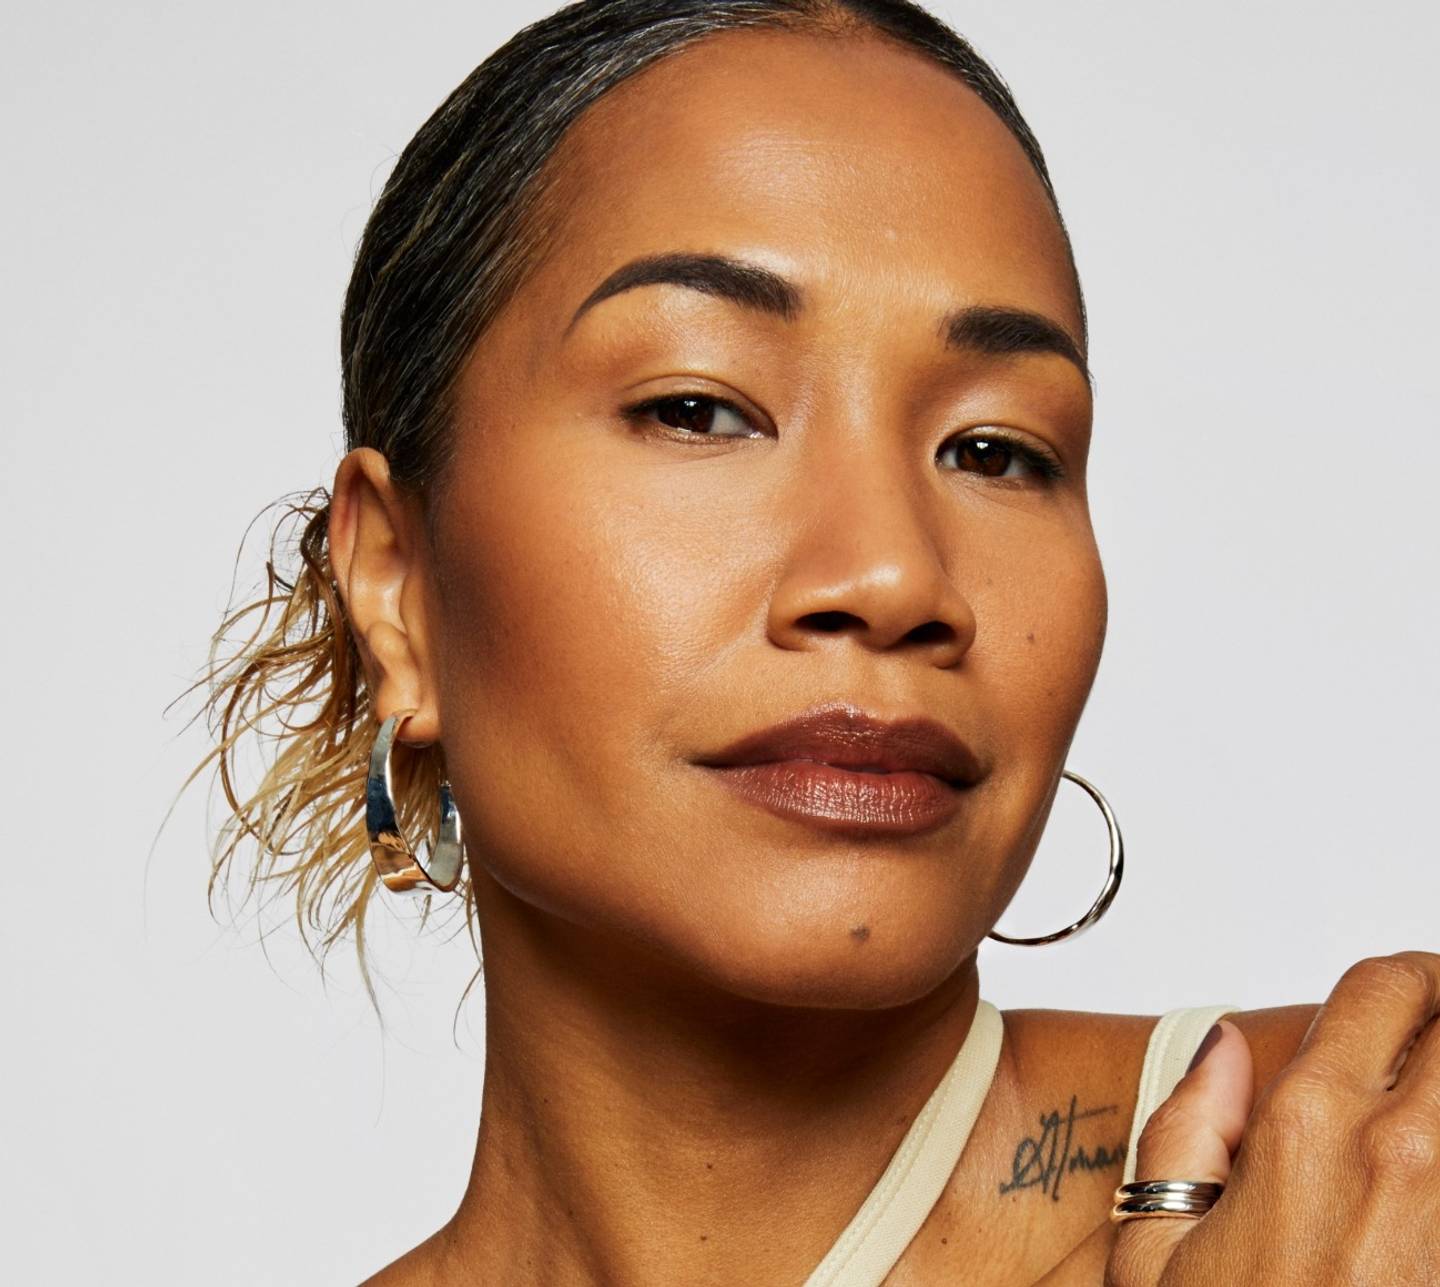
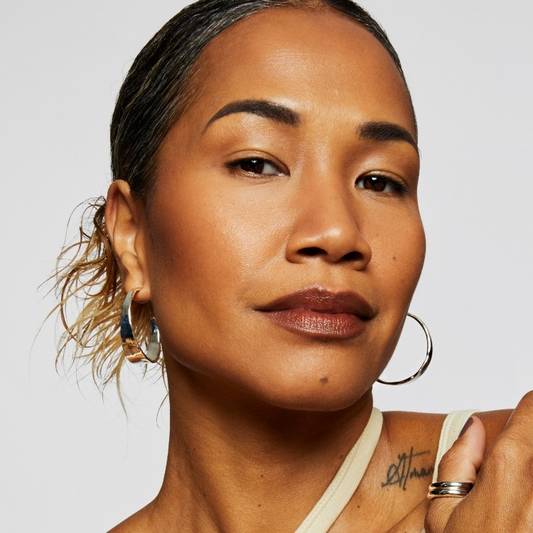
The only difference is soft sculpting achieves this in the most subtle, natural-looking way. It’s like the everyday, no-makeup makeup version of Kim Kardashian’s contour circa 2014. Each line created is seamless and buffed in, but your face is still gorgeously carved out. “Soft sculpting enhances your features rather than trying to totally change the shape of your face,” says Milk Makeup’s Director of Artistry Sara Wren.
Still unsure of exactly how to contour or sculpt your face? Allow us to break down the basics of picking the right product, shade, and placement.
1. Prep your base for contour
Moisturizing your skin and layering on primer prior to applying your concealer is crucial to soft sculpting. Without this prep, your contour will look incomplete and won’t blend into your skin seamlessly, Sara says.
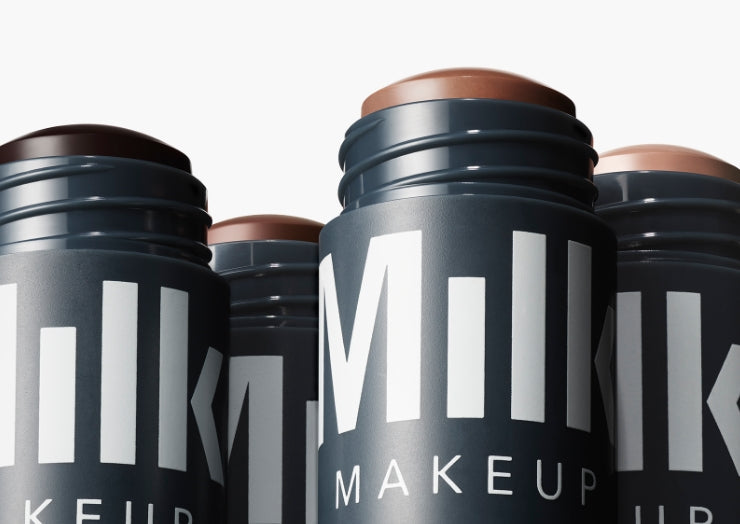
For the most natural-looking sculpted effect, Sara recommends the underpainting technique going viral on Tiktok. “Use your contouring product and concealer first, then layer foundation on top,” she explains. (Our brand-new Sculpt Stick and Future Fluid All Over Cream Concealer are perfect for this, just saying!)
 |
 |
2. Pick the right formula
Set aside your bronzer and contour kits. They aren’t quite right for this task. Reason being: Contouring kits of years past weren’t particularly user friendly. For some people, it can be hard to determine which colors they should be using for contour vs. bronzer. Plus, some of them tend to add noticeable warm-toned orange and red hues to your skin rather than mimic the way shadows usually appear on your face, Sara says.
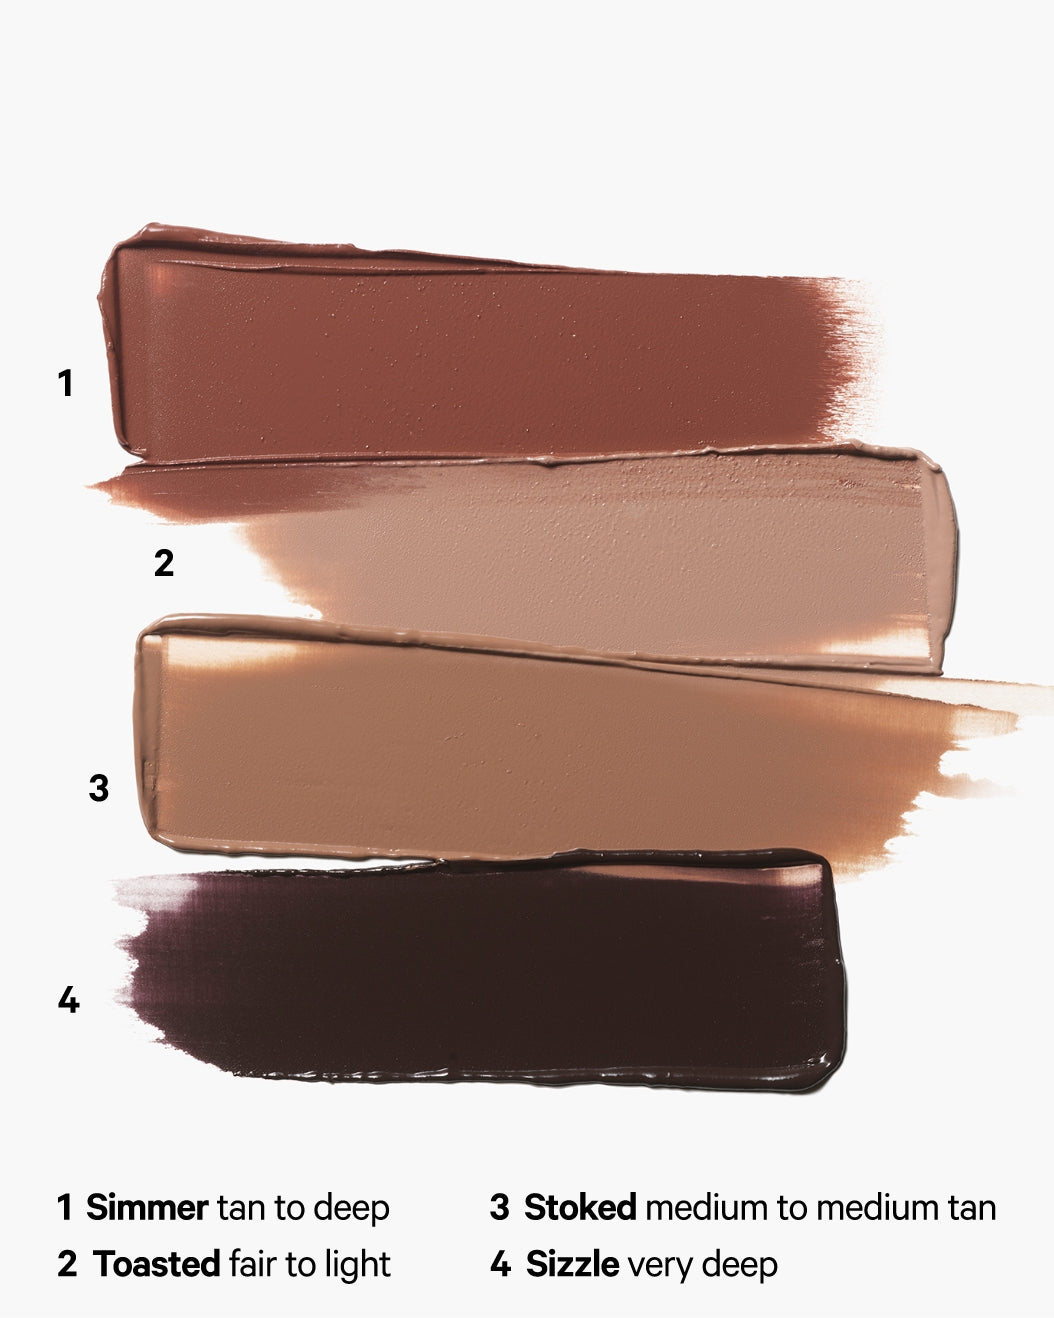
Shadows, naturally, tend to be cool-toned, and so are the shades of our new Sculpt Stick, our best contour stick for sculpting. They’re small enough to use on-the-go, but don’t be fooled by the size: much like our Lip + Cheek tubes, they’ll last you for ages. (There's over 1,000+ swipes in every stick!) The creamy, matte hues make soft sculpting incredibly simple to do. Matte Bronzer, on the other hand, is warm-toned to give your skin that just-got-back-from-the-beach look. A simple way to remember the difference between the two is “contour shapes, bronzer warms,” Sara advises.
Cream and liquid contour formulas are best for soft sculpting because they are the easiest to blend out for the most natural-looking contour, Sara notes. Plus, they melt into base makeup more cohesively and flawlessly than powder contour products.
3. Selecting the right contour shade
Sara has a trick for determining which Sculpt Stick hue you should use: “Suck in your cheeks, see the shade of the shadow that’s created in the hollows, and find the shade closest to that.” Alternately, aim for a shade that’s one or two levels darker than your skin tone. Going any darker will look too obvious, Sara says.
4. Gather your tools
To blend her contour, Sara likes to work with either a damp sponge or a small, fluffy brush with short, dense bristles meant for eyeshadow. “Sometimes repurposing brushes you haven’t used for other products does the trick,” she says.
You’ll want to use these in small, focused stamping motions, so you don’t lose the definition of the placements, Sara adds. Don't have a brush on hand? Not a prob. We made our Sculpt Stick so easy to blend, you can use only your fingers too.
 |
 |
5. Ace your placement and application
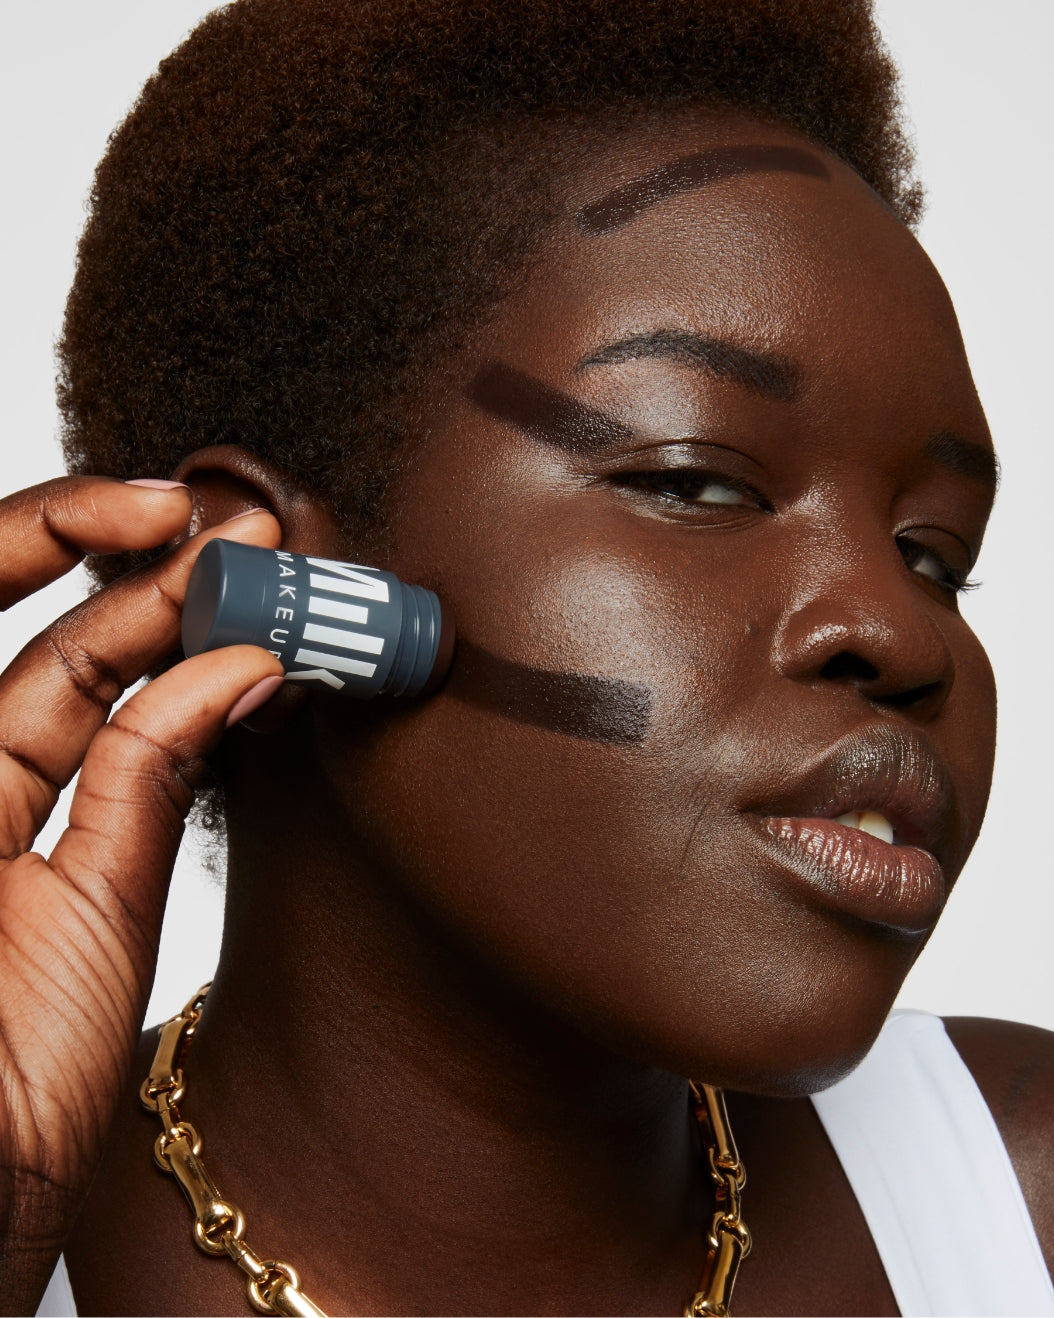
First, focus on the hollows of your cheeks. Use your tragus (that middle piece of ear cartilage next to your cheek) as a guide to locate the perfect place to start. Stamp on your Sculpt Stick there and work inward toward the corner of your lip, parallel to the tops of your cheekbones. Be sure to blend upward to truly get that soft definition you’re aiming for. While you’re in this area, draw your Sculpt Stick “in a line going from the outer corner of the eye toward the temple for a lifted eye look,” Sara adds.
Be sure to start with less Sculpt Stick than you think you need. Then, you can build up the intensity after blending if you want to. “It’s always easier to build up pigment than take it down,” Sara says.
The jawline is another place of soft sculpting importance. The bottom of your earlobe will lead the way in this case, as you stamp out your contour—start there and then trace along your jaw. Once you’ve laid out the placement, put the brush or sponge on your jawline right next to it and start sculpting along the perimeter. This time, you’ll want to make sure you're blending downward toward your neck. “Creating a life-like shadow that goes all the way behind the ear will look super natural,” Sara says.
Finally, feel free to sculpt your nose, as well as your forehead if that’s your thing. “Take Sculpt Stick and draw a line around your hairline, then buff out towards the hair,” Sara recommends.
6. Check your work
Once you think you’ve contoured your face to soft sculpting success, you’ll want to give yourself some distance from the mirror to evaluate how your face looks from afar, Sara says. That way, you can see which areas need more product and where you may have gone overboard. “If you accidentally use too much, take your concealer and just buff away your mistakes,” Sara says.
Then, you can proceed with adding bronzer, blush, and highlighter—in that order—to balance out the shadows of your soft sculpting.
And that’s it! Adding dimension to your face has never been faster or easier to do. Now go forth and (softly) snatch those cheekbones.
Meet the Expert
Sara Wren (she/her) is the Director of Artistry at Milk Makeup. In her role, she does all the makeup artistry and direction for our Milk Makeup global campaigns, educates the staff and field team on application methods, stars in the brand’s social media videos, and travels to different markets spreading Milk Makeup’s good vibes. When she’s not on set, Sara loves experimenting with DIY hair colors, eating tacos, watching basketball, and scouring for vintage cosmetics to add to her impressive collection.