Milk Makeup is celebrating Spooky Season all month. Every year, you turn our Hydro Grip best sellers into so many killer looks that we’ve officially dubbed this month Hydroween. Throughout October, you’ll see us rolling out all the Halloween costume inspiration you’ll need for 2024, created by our Milk Fam with your favorite Milk Makeup products.
Today, it’s makeup artist Carly Medina (@glambycarly) and her “Wicked” Halloween makeup look. Keep reading to see how she keeps the creativity brewing.
Dressing up as a witch for Halloween? Too easy. Showing up with Wicked Halloween makeup that brings double the main character energy? Now that’s a look. And you can do it by channeling both Cynthia Erivo’s Elphaba and Ariana Gradne’s Glinda from the upcoming film.
You may not think that the Wicked Witch of the West and Glinda the Good could work so well together, but this makeup look is all about expressing duality. Let makeup artist Carly Medina show you how it’s done. And with Hydro sealing it in, there won’t be any melting when you’re done with this Halloween makeup tutorial.
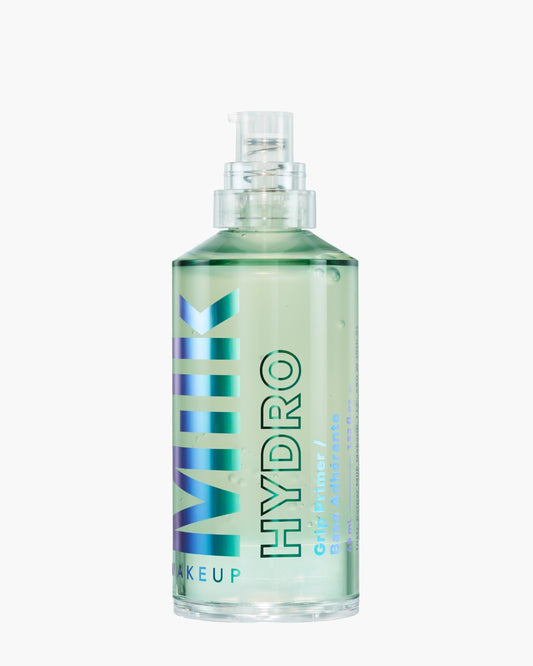
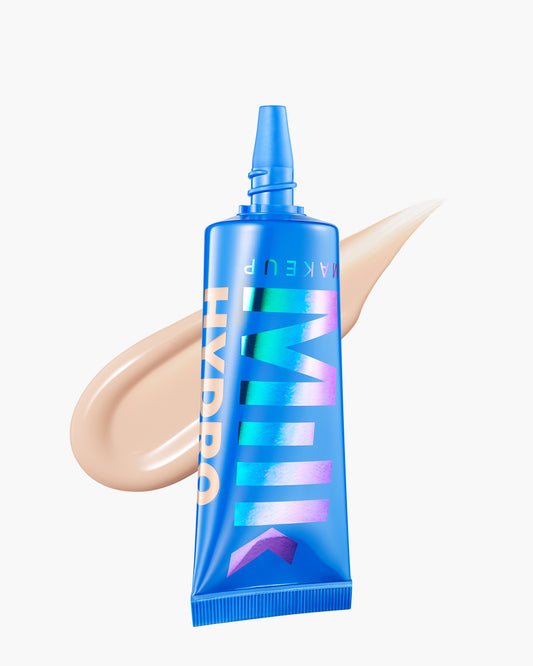
1. Prep + PrimeThere’s a reason our 10x-award-winning Hydro Grip Primer gets so much love. This gel primer grips makeup and hydrates skin to prevent makeup from fading, caking, or creasing, keeping your “Wicked” makeup locked for up to 12 hours. Both your Elphaba and Glinda sides require a smooth base, meaning you need a good canvas to work on. Take a cue from Carly and start your look with 1-2 pumps of Hydro Grip, letting it sit for a full minute to activate its gripping powers. |
 |
2. BrowsBoth characters love a scene-stealing bold brow, so grab your essentials. Carly starts with KUSH High Roll Brow Tint in Herb on her Glinda side to channel a more natural-looking (but still volumized and defined) brow. To frame her face on the Elphaba side and add a little extra drama, she doubles up with a base layer of KUSH Brow Shadow Stick in Diesel, followed by KUSH High Roll Brow Tint in Cypher, a darker shade. Don’t forget to lay down your base layer of green eyeshadow or face paint before you start sculpting your brows. |
 |
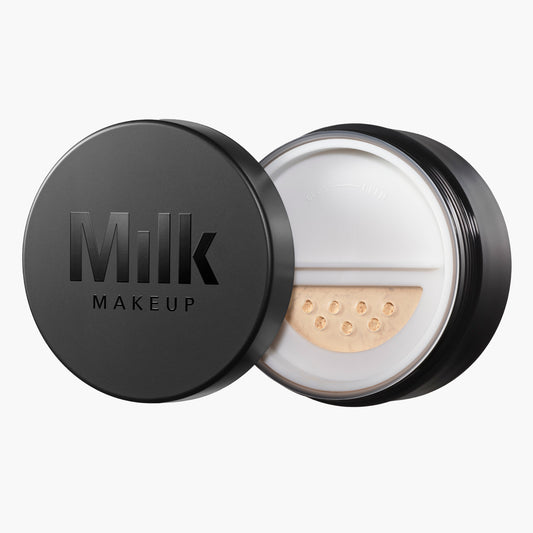
3. BaseYour base makeup is where the two witches will go their separate ways, so if you’re listening to the Wicked soundtrack while doing this, now would be a good time to play “Defying Gravity.” Your Glinda the Good side should be flushed, radiant, and dewy. Start by evening out your base with your shade of Future Fluid Creamy Hydrating Concealer, adding a lighter shade to highlight, and blending it out with a makeup sponge (Carly’s using 14N and 5W here). To create dimension, Carly uses Sculpt Stick in Toasted to add depth under her cheekbones, using a heavier hand on the Wicked Witch of the West half of her face. Glinda’s makeup gets an extra swirl of pink using Cooling Water Jelly Tint in Chill. For Elphaba’s makeup, your base should still look dewy and smooth but with an added tint of green. Try Carly’s hack and blend your green cream base with your shade of Future Fluid to help it apply more smoothly. Don’t worry about splitting your face perfectly down the middle; a jagged, slightly imperfect line looks best. Once you’re done with both sides, set them a light layer of Pore Eclipse Matte Translucent Setting Powder. It’s talc-free, so it won’t cause any flashback in photos. |
 |
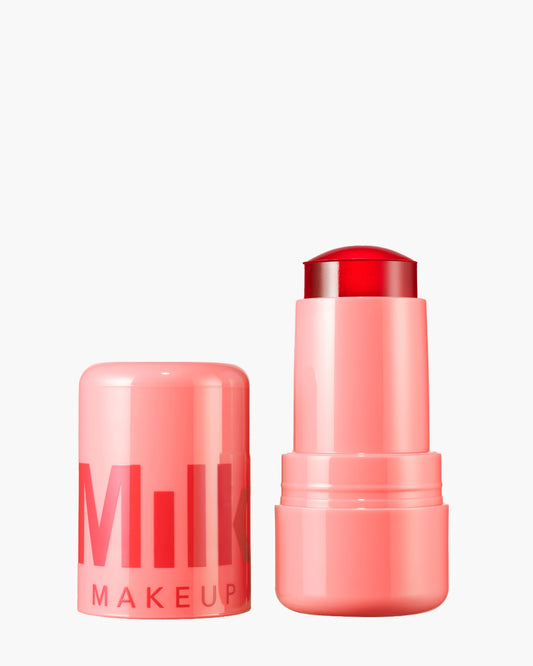
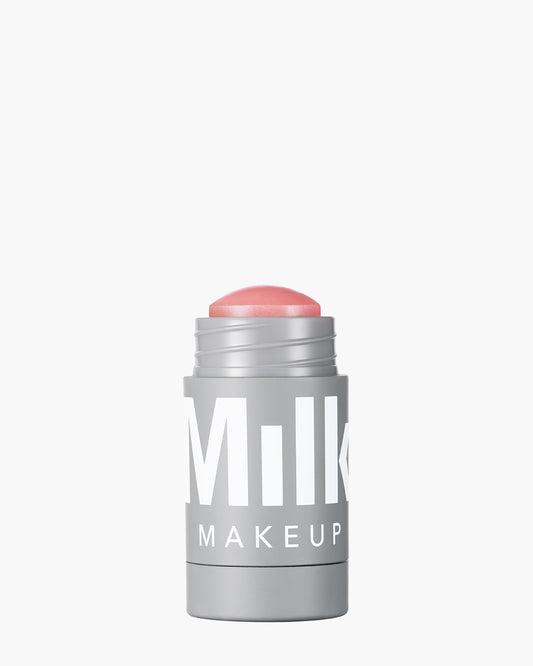
4. Eyes + LipsTime to add the details that bring each main character to life. Add extra luminescence to your Glinda makeup with our Highlighter, dabbing a golden peach shade like Turnt onto your eyelids and on the high points of your face. For Elphaba, it’s time to bring out your witchiest smoky eye and smudged liner. Carly uses Infinity Long Wear Eyeliner in Outer Space to smoke out her eyes, then brings it down to her lips and blends it out as a black lip liner. Add a generous coat of KUSH Mascara to both eyes, then finish off your Glinda side with a reflective pink gloss like Odyssey Lip Oil Gloss in Wander. If you want to emphasize the split between the two halves of your face, go over the dividing line on the Glinda half with a pink cream blush like Lip + Cheek in Werk and blend a second layer of your green base on the Elphaba side.
|
 |
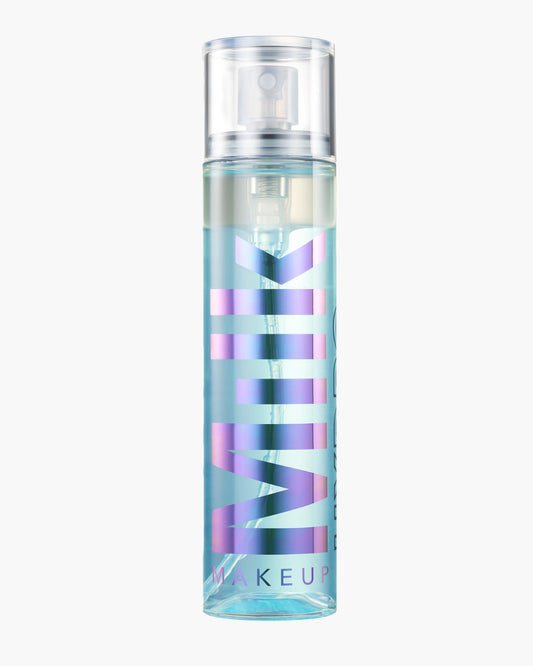
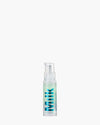
5. SetThe hard part’s done: Now you just need a little extra makeup insurance. Grab your Hydro Grip Set + Refresh Spray and spritz all over to seal in your creativity. This alcohol-free, dewy setting spray was made to pair with our Hydro Grip Primer and weightlessly sets your makeup for up to 12 hours, so skin stays glowy and your Hydroween look doesn’t fade. Pro tip: Grab the mini and spritz it on throughout the night for extra grip, or if your look needs a hydrating refresh. Promise you (and your makeup) won’t melt down. |
 |


 "
"