


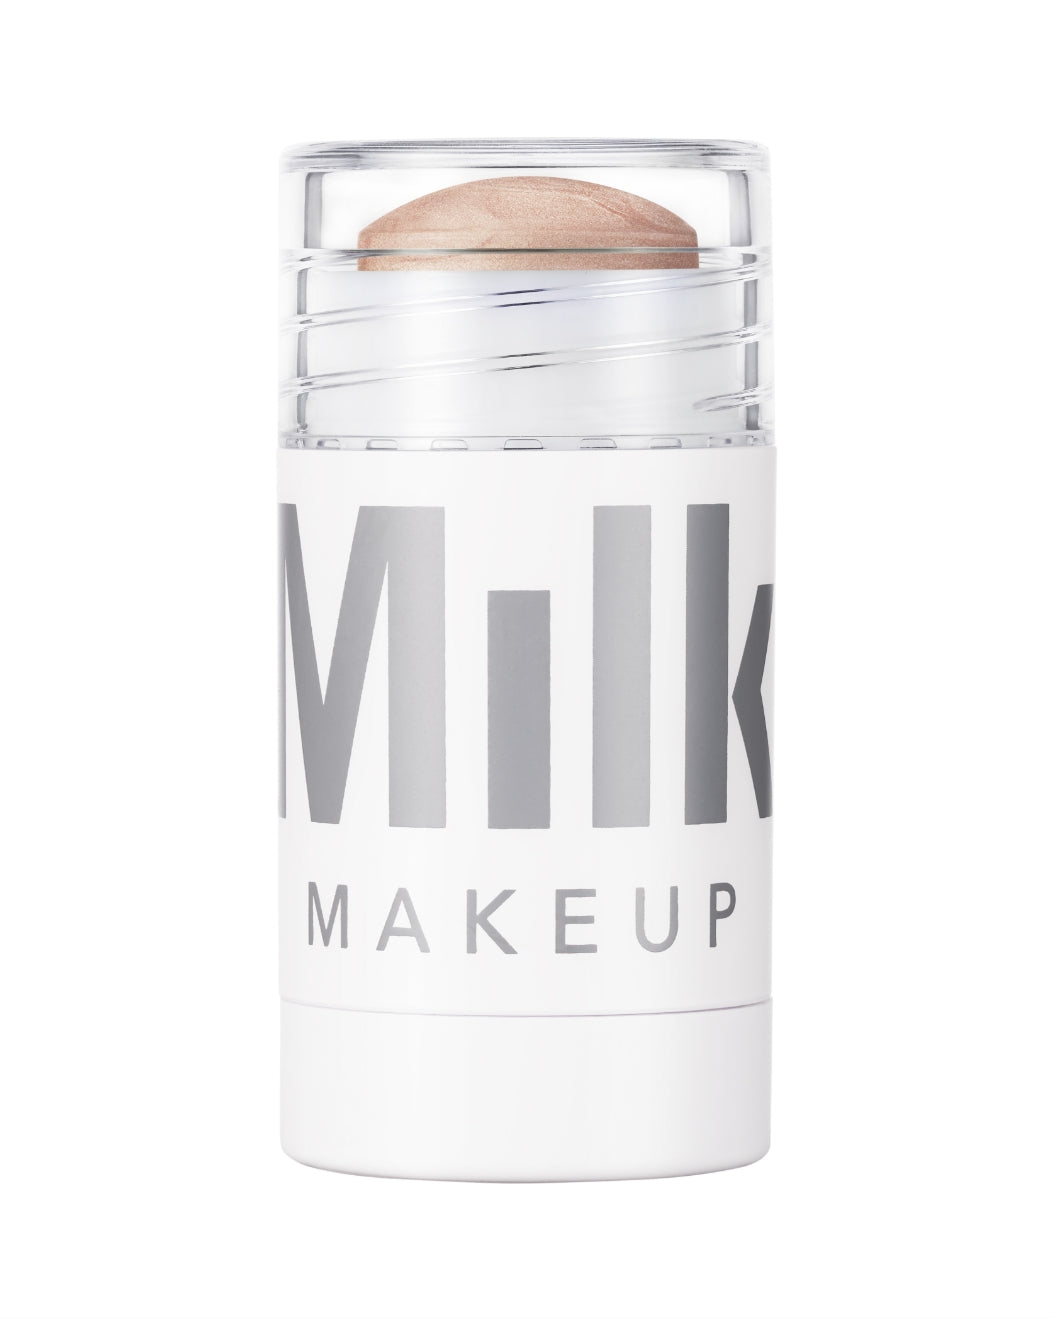
What’s sculpted, simple to do, and leaves you glowing? Meet the 60-Second Face, Milk Makeup’s signature look created using our best makeup sticks. Expressing yourself with these easy-to-use, good-for-skin formulas is simpler than ever thanks to our ever-expanding lineup of makeup sticks—from the cool-toned Sculpt Stick to our TikTok-viral Cooling Water Jelly Tint.
Let’s be real—makeup sticks are incredibly convenient. Not only does their creamy, blendable format make application a breeze, but they’re also portable and perfect for when you’re on the go. “I love a stick for travel,” says Milk Makeup Director of Artistry Sara Wren. “It’s much smaller, and a solid formula is a safer, mess-free bet in your carry-on.”
Simply put: With our best makeup sticks on hand, along with these expert tips, you’ll be able to nail a 60-Second Face in no time—permission to hit snooze again, granted.
Step 1: Prime your base
You can opt out, but our makeup sticks work best with a complexion product as a base. Why? They’re easier to blend this way. That’s especially true if you’re using our Sculpt Stick or Matte Bronzer for a dimensional look.
“Sculpting without a proper base underneath—which can be sheer, medium, or full coverage—will look incomplete and lose the effect,” says Sara. Keeping with the stick theme, prime your skin for a smooth, seamless makeup application with Pore Eclipse Matte Blur Stick. Glide it all over your face, focusing on the spots where you tend to get greasy. The formula locks on your makeup for up to 16 hours while controlling oil, blurring pores, and giving you a soft-matte canvas for foundation and concealer. If you want to use it for touch-ups throughout the day, just swipe your fingers over the top of the stick and press it directly over makeup wherever you’re shiny. While it’s especially effective at blocking shine on combination and oily skin, all skin types can get in on the powers of this non-drying, non-comedogenic primer stick.
Step 2: Start with sculptingOnce you’ve primed your base, you’re ready to do some contouring. “This helps create the shape of the face and helps inform the best placement for bronzer, blush, and highlighter—in that order,” says Sara. Unlike bronzer, which has a warming effect, our cool-toned Sculpt Stick adds definition and enhances the natural shadows of your face. To apply Sculpt Stick, “do a soft sculpt or ‘baby contour’ by applying it to temples, hollows of cheeks, under the lower lip line, and through the crease on eyes,” Sara says, noting that beginners might want to dot on the product instead of swiping it. This creates a more seamless, blendable finish. “Buff out with a sponge or brush in small motions so you don’t lose the definition of the sculpt placement,” she adds. Step 3: Bring on the bronzerTo complement your sculpting, add warmth to your skin with Matte Bronzer. “It’s the most natural way to get that bronzed, sun-kissed glow without any harsh, unblended lines,” Sara says. “I love to take Matte Bronzer in a W shape across my cheeks and nose, as well as softly around the jaw and hairline. Then, blend.” To help you make the most of our best-selling Matte Bronzers, we have five shades to accommodate all skin tones. “Dazed, a light bronze, is great for very fair or fair clients who find traditional bronzers too warm or orange,” Sara says. “Blitzed and Spaced are designed for deep and very deep skin tones that find traditional bronzer shades too light or chalky.” |
 |
Step 4: Bust out the blushWe love a good liquid blush (looking at you, Bionic Blush), but sometimes, a cream blush or even a blush stain is your best bet. “Cream formulas, like Lip + Cheek, are a great medium to work with since they blend easily and the pigment is super buildable,” Sara explains. “It works whatever your skill level is.” Alternately, Cooling Water Jelly Tint instantly brings a long-lasting, juicy burst of color to cheeks. You can tap it on for a sheerer color payoff or swipe on a couple of passes for a more vibrant flush. No matter what, it will stain your cheeks until you wash your face with an oil cleanser. Depending on the vibe you’re going for, you can apply your blush stick to various areas of your face. Pop it “higher on the cheek to create a more angular look, or right on the apples of cheeks for a youthful glow,” says Sara. Either way, just dab and blend for fresh, flushed skin. Step 5: Add a highlightAs the last step for the complexion, “Top your cheeks, nose, and the cupid’s bow with highlighter,” Sara says. “Depending on the level of glow I am going for, I’ll grab Highlighter in Lit for more of a wet glow, or Highlighter in Turnt for a super-glittery, fun sparkle.” What makes Highlighter so incredible is its pearlescent, nourishing formula that happens to be super versatile. Feel free to slick it on just about anywhere. For instance, the highlighter stick “makes for an amazing eyeshadow topper and can look very glossy and soft worn alone on the eyes,” says Sara. |
|
Step 6: Don’t skip the lips
Glowing, dewy skin is at the heart of the 60-Second Face, but it wouldn’t be complete without a lip color. Swipe on Cooling Water Jelly Tint for a playful popsicle-like stain or opt for Lip + Cheek in either a creamy matte or shimmery finish. Take, for instance, Enigma from the latter line. “It’s a gorgeous beige-rose with a clear base, so it blends super well across many skin tones,” Sara shares. For more drama, “Muse is a true, deep burgundy—imagine that classic flushed lip and cheek,” she adds.
And with that, you’re officially a pro at the 60-Second Face. Our best makeup sticks are incredibly easy to master and make putting together a glam look lightning-fast.
Meet the Expert:
Sara Wren (she/her) is the Director of Artistry at Milk Makeup. In her role, she does all the makeup artistry and direction for our Milk Makeup global campaigns, educates the staff and field team on application methods, stars in the brand’s social media videos, and travels to different markets spreading Milk Makeup’s good vibes. When she’s not on set, Sara loves experimenting with DIY hair colors, eating tacos, watching basketball, and scouring for vintage cosmetics to add to her impressive collection.


