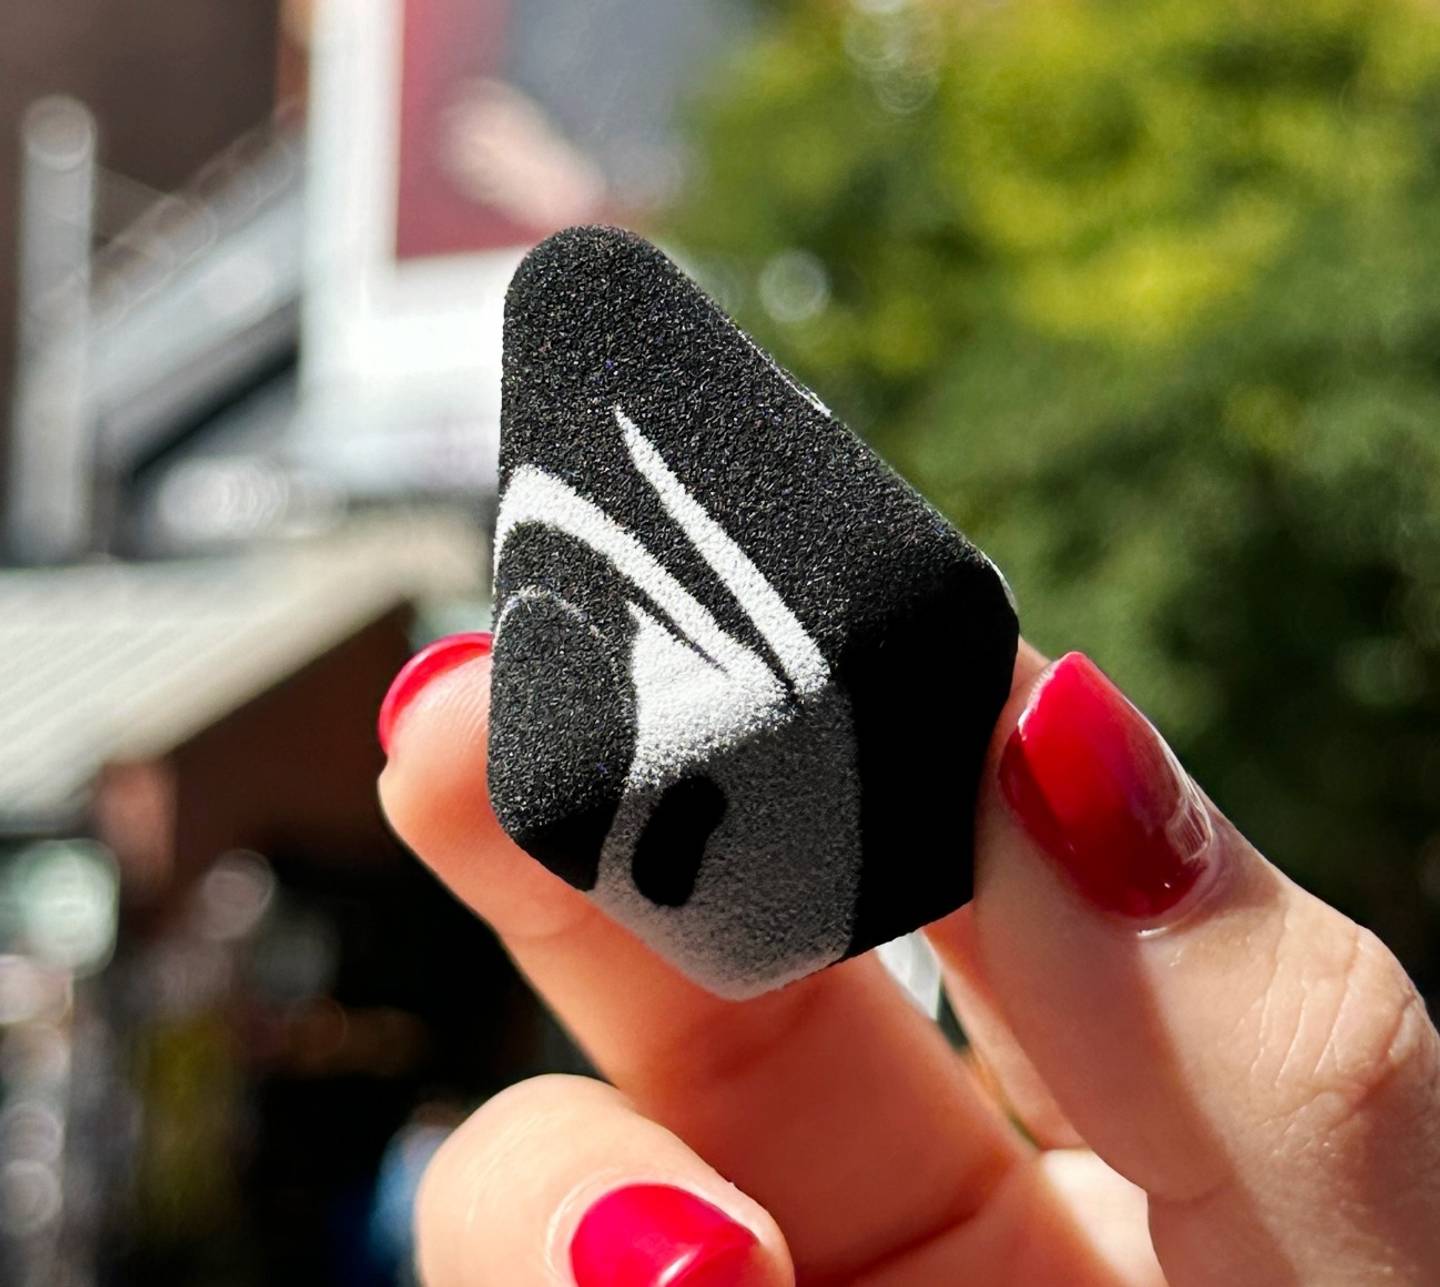
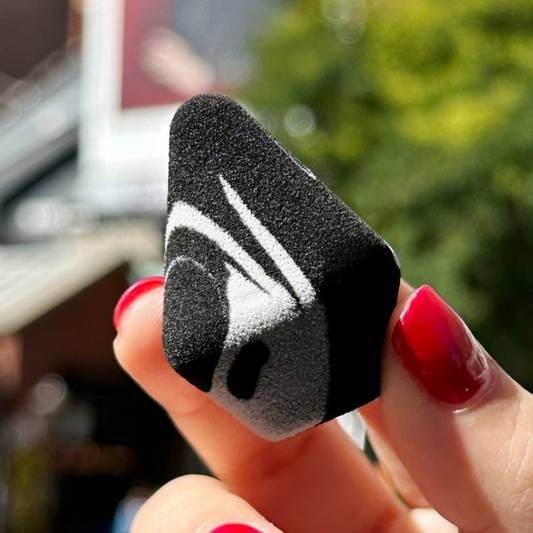
Be honest: When’s the last time you cleaned your makeup sponges? If you’d rather not answer, we’re about to show you how to clean your makeup sponges quickly, so you never leave them covered in dust and foundation stains again. Dirty makeup sponges can become natural magnets for bacteria, since they’re designed to be porous and absorbent. And like anything else that touches your face, they can end up causing acne as bacteria piles up.
“Bacteria that grows in your sponge can lead to breakouts,” says Sara Wren, our Director of Artistry. “It can also affect your makeup application.” With all the work you put into your looks, you deserve better. It’s time to start treating your most-used beauty tools with some TLC, and that calls for a sponge-cleaning masterclass. Gather your supplies and get ready to deep clean like a makeup artist.
How Often Should I Clean My Makeup Sponges?
In a perfect world, you’d wash your dirty sponges after every use. Sara says regular cleaning is the best way to keep bacteria from growing in the first place. “If you can’t fit a daily wash into your schedule, then you should clean makeup sponges at least once a week if you’re using the same sponge daily,” she says. This includes the sponge you’ve got rolling around all week in your work makeup bag, by the way! To make that process less of a chore, we rounded up six quick and easy ways to get it done.
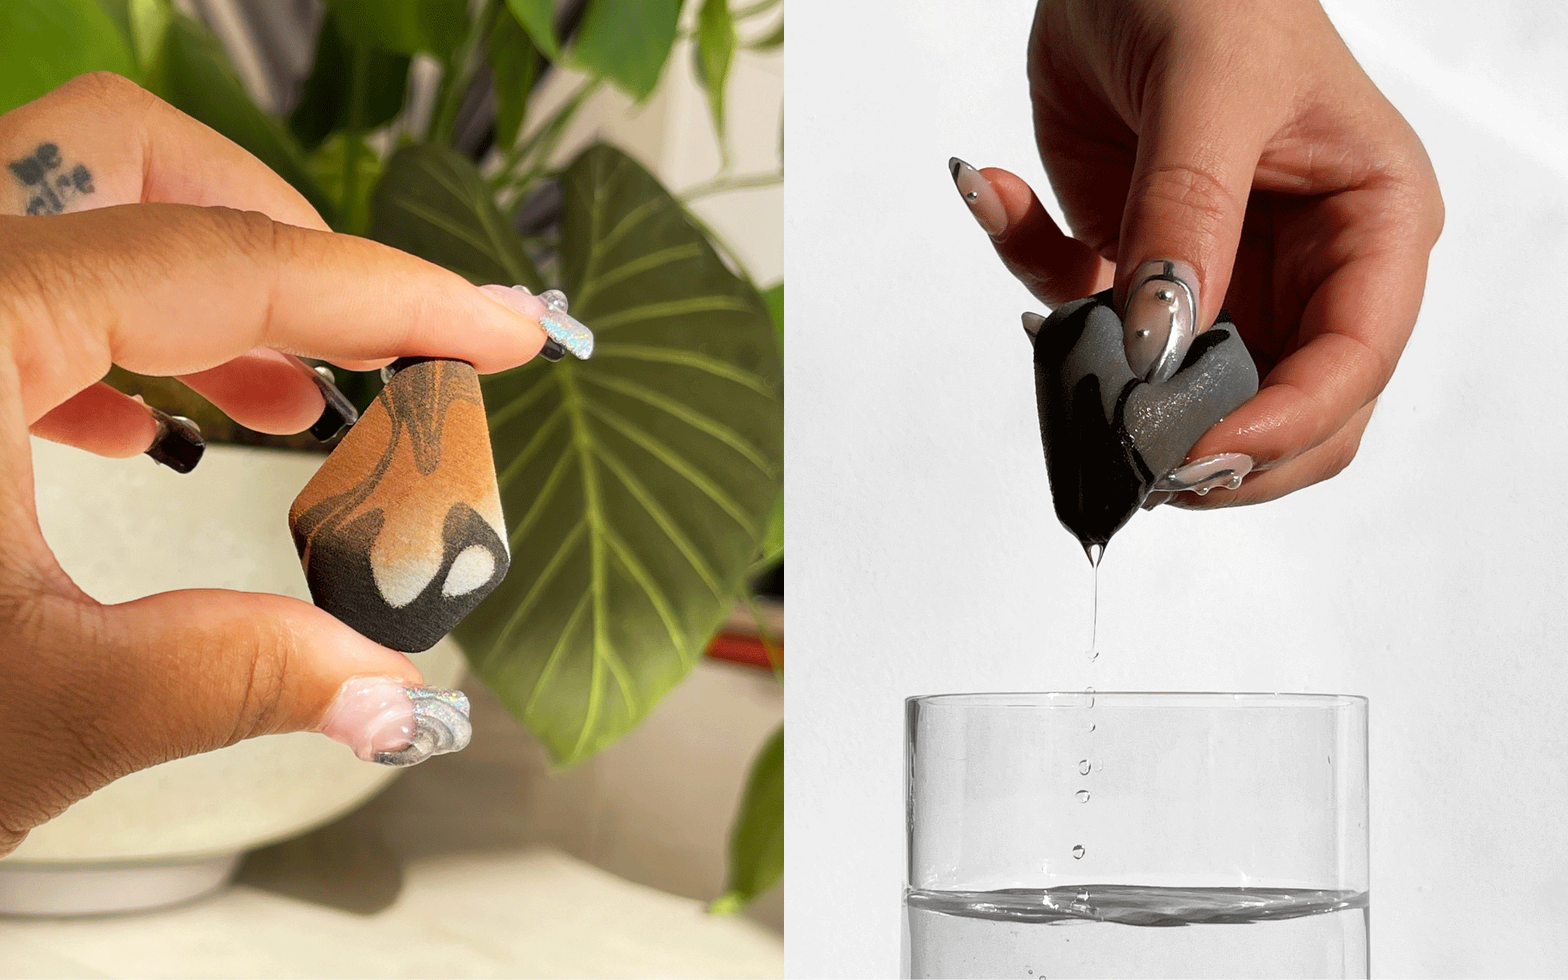
How to Clean Your Makeup Sponges With SoapThis is probably the most common way to clean your makeup sponges, since it requires minimal effort and supplies. 1. Grab a bowl of warm water.Start by filling a small bowl with warm water and fully submerge your sponge in it. It’s important for the sponge to get wet—the wetter it gets, the more it expands, and the easier it is to clean. 2. Add soap.squirt some regular soap or liquid cleanser on your makeup sponge, then massage it to get all the excess product out. “I like to use an antibacterial soap to fully cleanse my sponges in warm water,” says Sara. Tip: You can also use dishwashing soap or baby shampoo. The formula acts as a degreaser, which helps break down makeup residue even further. 3. Rinse.Squeeze any dirty water out of your sponge and rinse it with clean water “until all the makeup and soap comes out," says Sara. You can rinse it under running water, too. "Squeeze any extra water out and lay your wet sponge flat to dry.” There. You're done in 60 seconds. How to Clean Your Makeup Sponges in a SolutionJust think of this method as a little spa day for your sponge. |
 |
1. Make a bath.
Fill a cup or bowl with warm water and add liquid soap to create a sudsy solution. Then, add your sponge. You can spot-clean any heavy stains by rubbing it against a bar of soap before dropping it back in.
2. Submerge your sponge.
Place your sponge in its bath and lather with soap. Squeeze to release any dirty, soapy water and product buildup into the sink. Then, let your sponge soak in the solution for a while. Depending on how long it’s been since you last cleaned it, it can stay there anywhere from five minutes up to a day.
3. Dry.
When you’re done, pour out your solution and squeeze your sponge thoroughly to get rid of any water or extra suds. Let it air-dry, and you’re good to go.
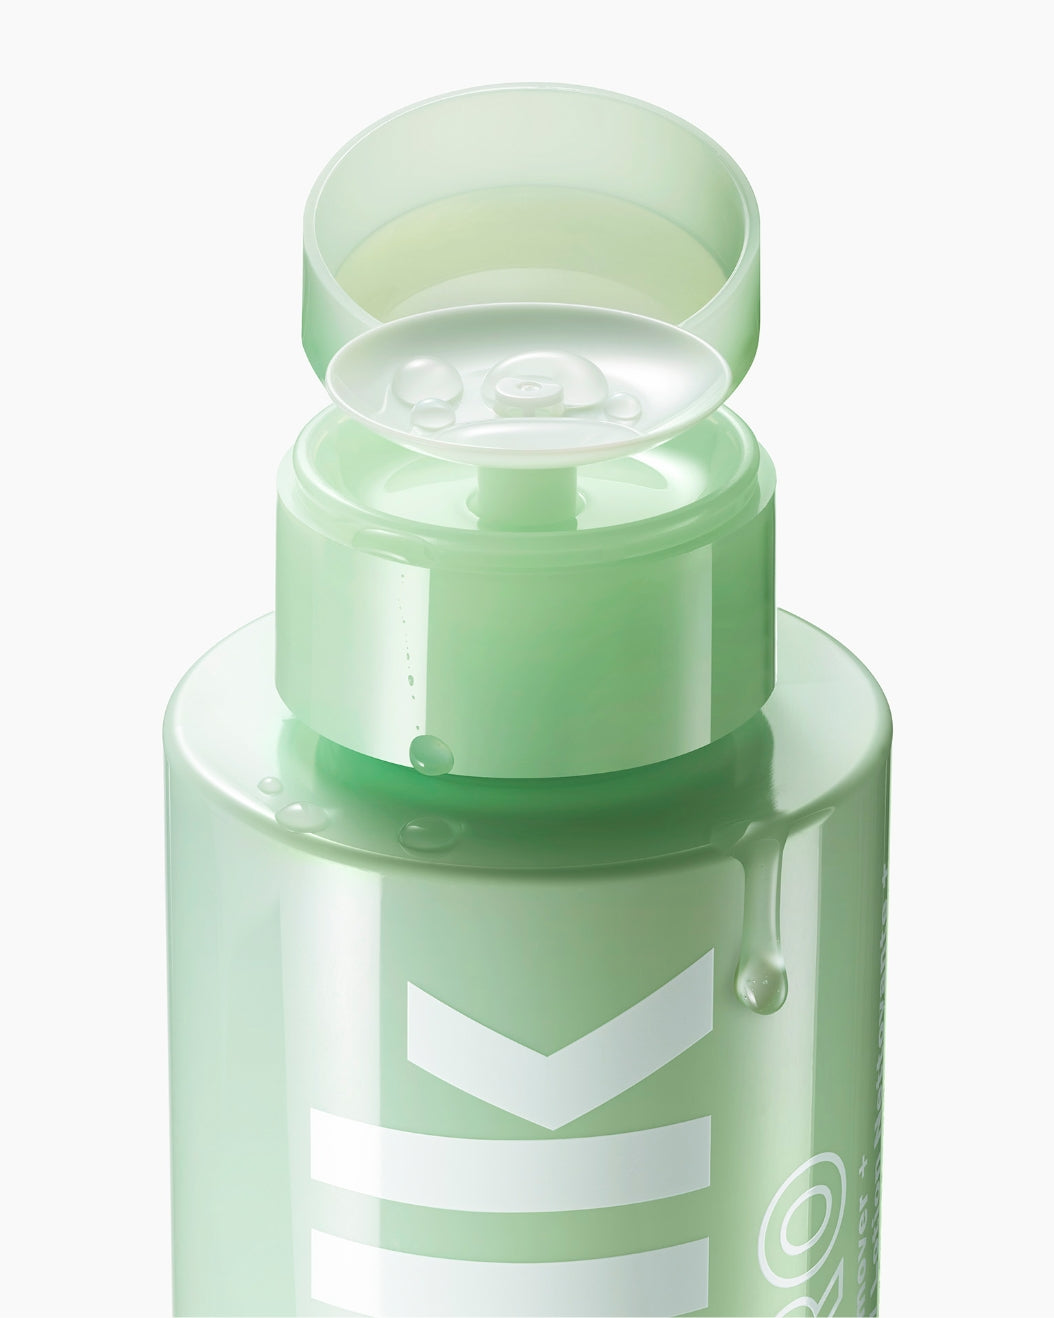
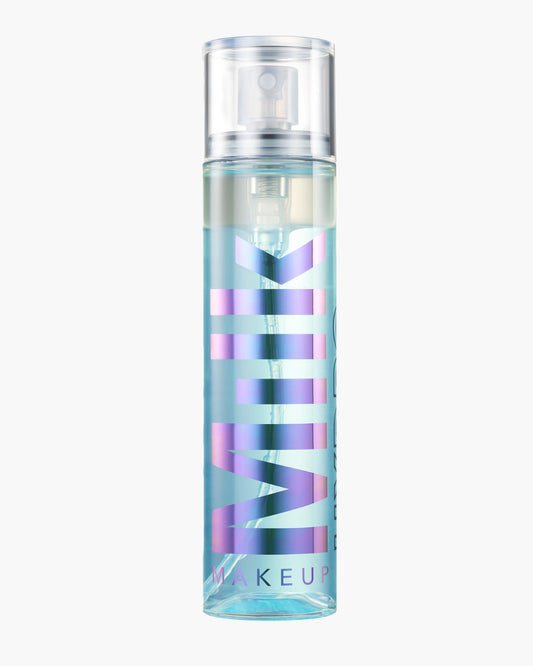
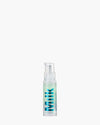
How to Clean Your Makeup Sponges With Micellar WaterDespite all your efforts, some stains just won’t budge. (Looking at you, concealer!) This is where micellar technology comes in to do double duty; not only is it great for removing your makeup, it also pulls stains and grime right off your makeup tools. We recommend grabbing a bottle of our Hydro Ungrip Makeup Remover + Cleansing Water, which uses blue agave extract and micellar technology to act as a super magnet on makeup. 1. Do a micellar water massage.Soak your makeup sponge with our Hydro Ungrip Makeup Remover + Cleansing Water to wash away tough makeup stains. Massage it to make sure the formula gets into every nook and cranny. 2. Double cleanse.Micellar technology is great for easing away makeup stains, but it won’t kill bacteria. To ensure a totally clean sponge, double cleanse with dishwashing or antibacterial soap. 3. Rinse.Once all makeup stains and bacteria have been removed, rinse your sponge with clean water and set it aside to dry. “A clean sponge is a happy sponge—and face,” says Sara. How to Clean Your Makeup Sponges in the Washing MachineThis method gets bonus points for letting you tackle two chores at once. |
 Shop Hydro Ungrip |
1. Grab your sponges.
Whether you're cleaning one or several of them, toss your sponges in with your next load of laundry. If you’re worried about any leftover makeup staining your clothes or your sponges getting lost like a lone sock in the wash, you can keep them in a mesh laundry bag.
2. Throw them in the wash.
Add laundry detergent and wash on your preferred setting. Makeup sponges are famously durable, so you don’t have to worry about them getting damaged.
3. Add them to the dryer.
To cut down on air-dry time, you can also tumble-dry your makeup sponges along with your clothes. After that, they should be good to go.
How to Clean Your Makeup Sponges in the Microwave
Microwaving is a surprisingly great option if you need a quick clean, plus the heat is extra effective at killing bacteria.
1. Fill a cup with soap and water.
Find a microwave-safe cup and fill it with water. Add soap (both antibacterial and dish soap will work) to create a mixture.
2. Add your sponges.
Place your sponge in the cup. Make sure it’s fully submerged so you get the best results.
3. Microwave.
Set your microwave for 60 seconds. After it’s done, wait 30 seconds for everything to cool down before removing.
4. Squeeze and dry.
Wring your sponge thoroughly to squeeze out excess water, and then let it air-dry.
How to Clean Your Makeup Sponges With a Cleansing Pad
Cleansing pads are super useful tools that just might inspire you to clean your makeup sponges more often. Not only are they affordable, they also couldn’t be easier to use.
1. Add soap.
Drizzle some soap onto your sponge and work it in to make sure it coats everything.
2. Use your cleansing pad.
Rub your sponge against the bristles of your cleansing pad to instantly break down stubborn spots and stains. Add more soap as needed for a deeper clean.
3. Rinse off.
Run your sponge under some water to wash it off before leaving it to dry.
Meet the Expert
Sara Wren (she/her) is the Director of Artistry at Milk Makeup. In her role, she does all the makeup artistry and direction for our Milk Makeup global campaigns, educates the staff and field team on application methods, stars in the brand’s social media videos, and travels to different markets spreading Milk Makeup’s good vibes. When she’s not on set, Sara loves experimenting with DIY hair colors, eating tacos, watching basketball, and scouring for vintage cosmetics to add to her impressive collection.
 "
"
