If there’s one thing you can do to nail any look, it’s skin prep for makeup. It doesn’t matter how expensive your foundation is or how much time you spend blending it out: If you forget about skin prep, things will probably end up slipping and sliding off your face before you even get a chance to check your reflection midday. But with the right base, your concealer will stay smooth as butter, your blush will go on brighter, and your look will stay locked on until you’re ready to take it off.
“Skin prep can make or break your look,” says Sara Wren, Milk Makeup’s Director of Artistry. “It’s the most important part of your makeup looking good and staying in place.”
Just like your makeup, the best skincare products and routine vary based on your skin type. So we went straight to the experts. How do makeup artists prep their skin for any makeup look? Below, Sara breaks down her step-by-step skin prep routine for dry skin, oily skin, and combination skin. Let’s get into it.
 |
 |
How to Prep Oily Skin for Makeup
“It’s super important to prep oily skin for flawless makeup application to keep it from separating and sliding off throughout the day,” says Sara. “Natural oils are great for the skin except when they are too much.” If your skin tends to go greasy, these tips will put you on the path to shine-free makeup that stays that way.
1. Cleanse. To wash any excess oils that could disturb your makeup, start your skincare routine by washing your face a gentle cleanser.
2. Treat. When you have oily skin, you want to keep your hydration layers as thin and lightweight as possible. “Though it may seem counterintuitive, oily skin needs moisturizer,” says Sara. “If it’s not properly moisturized, it overcompensates by producing even more oil.” For your first layer of moisture, use a lightweight, oil-free serum with ingredients that will help balance your skin’s oil levels like niacinamide or salicylic acid.
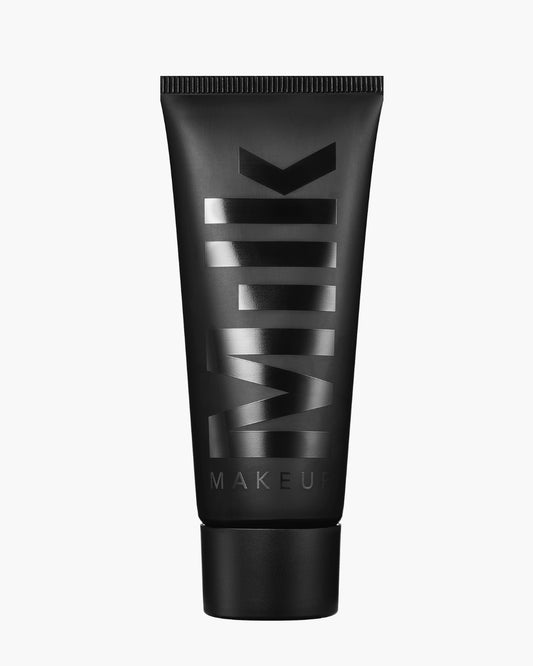
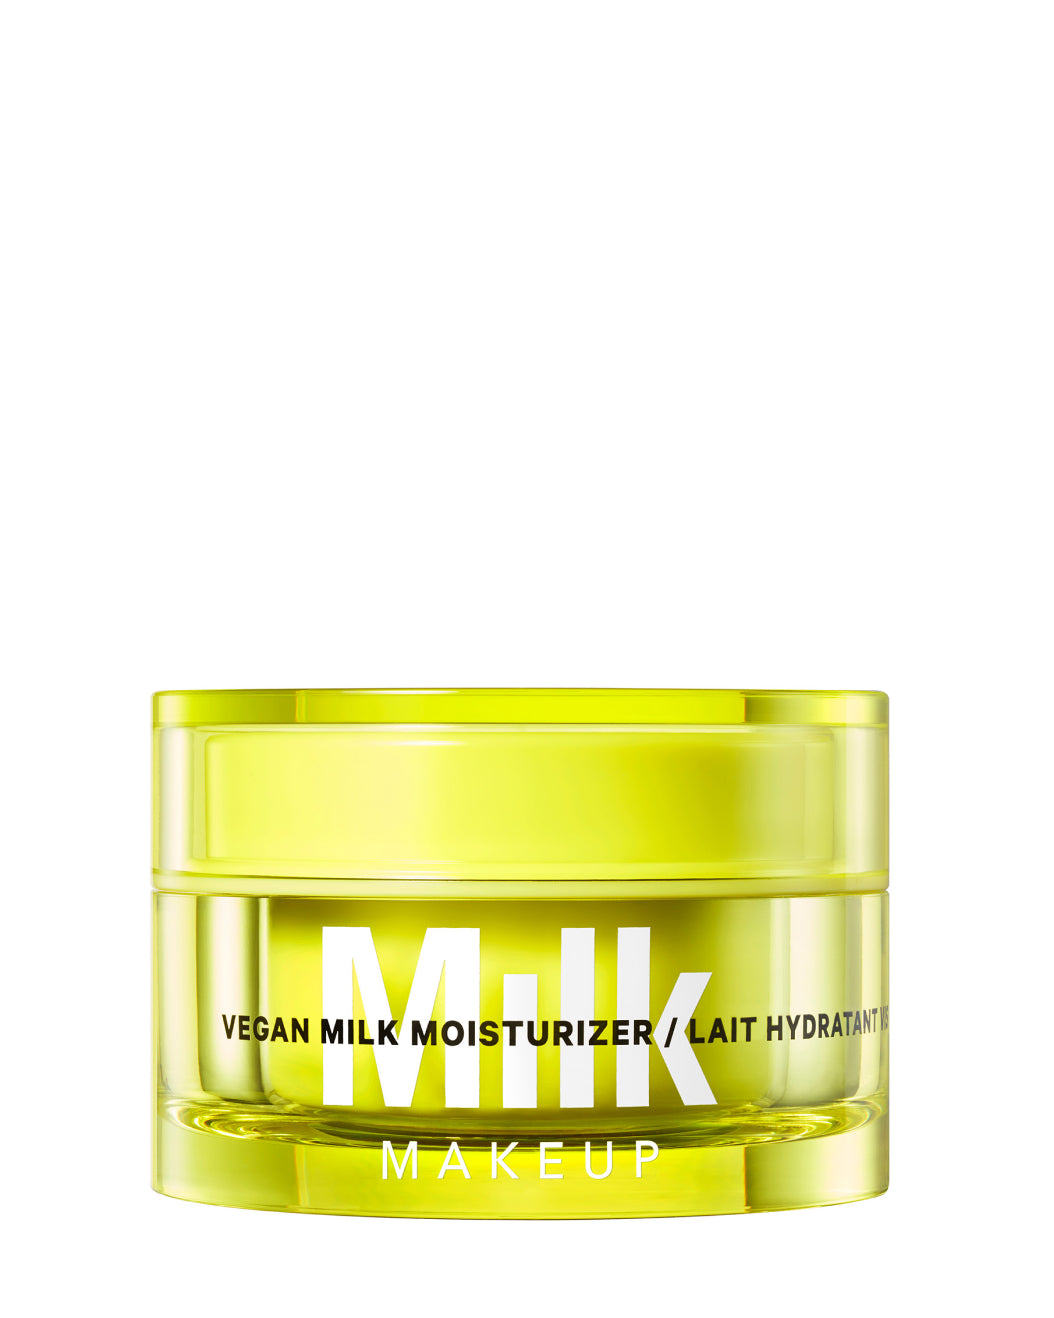
3. Moisturize (lightly!). Next, it’s time for another light layer of moisturizer. Remember to apply sparingly if you have oily skin. “I take a dime-size amount of Vegan Milk Moisturizer and thin it out in my hands before pressing it into the skin,” she says. “This gives allover lightweight hydration.”
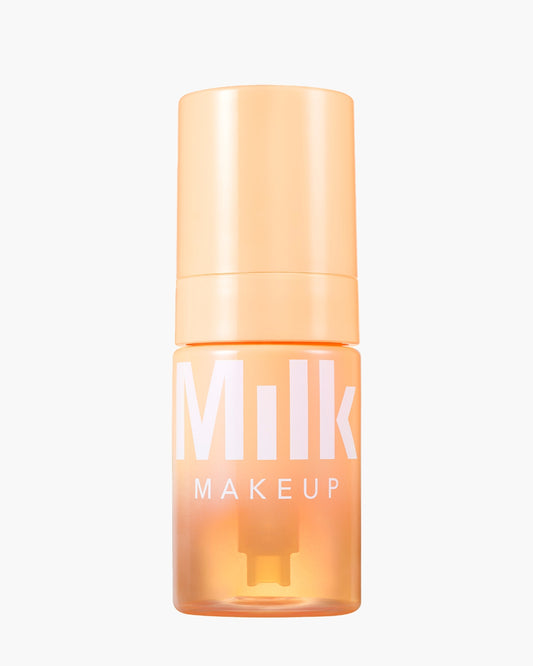
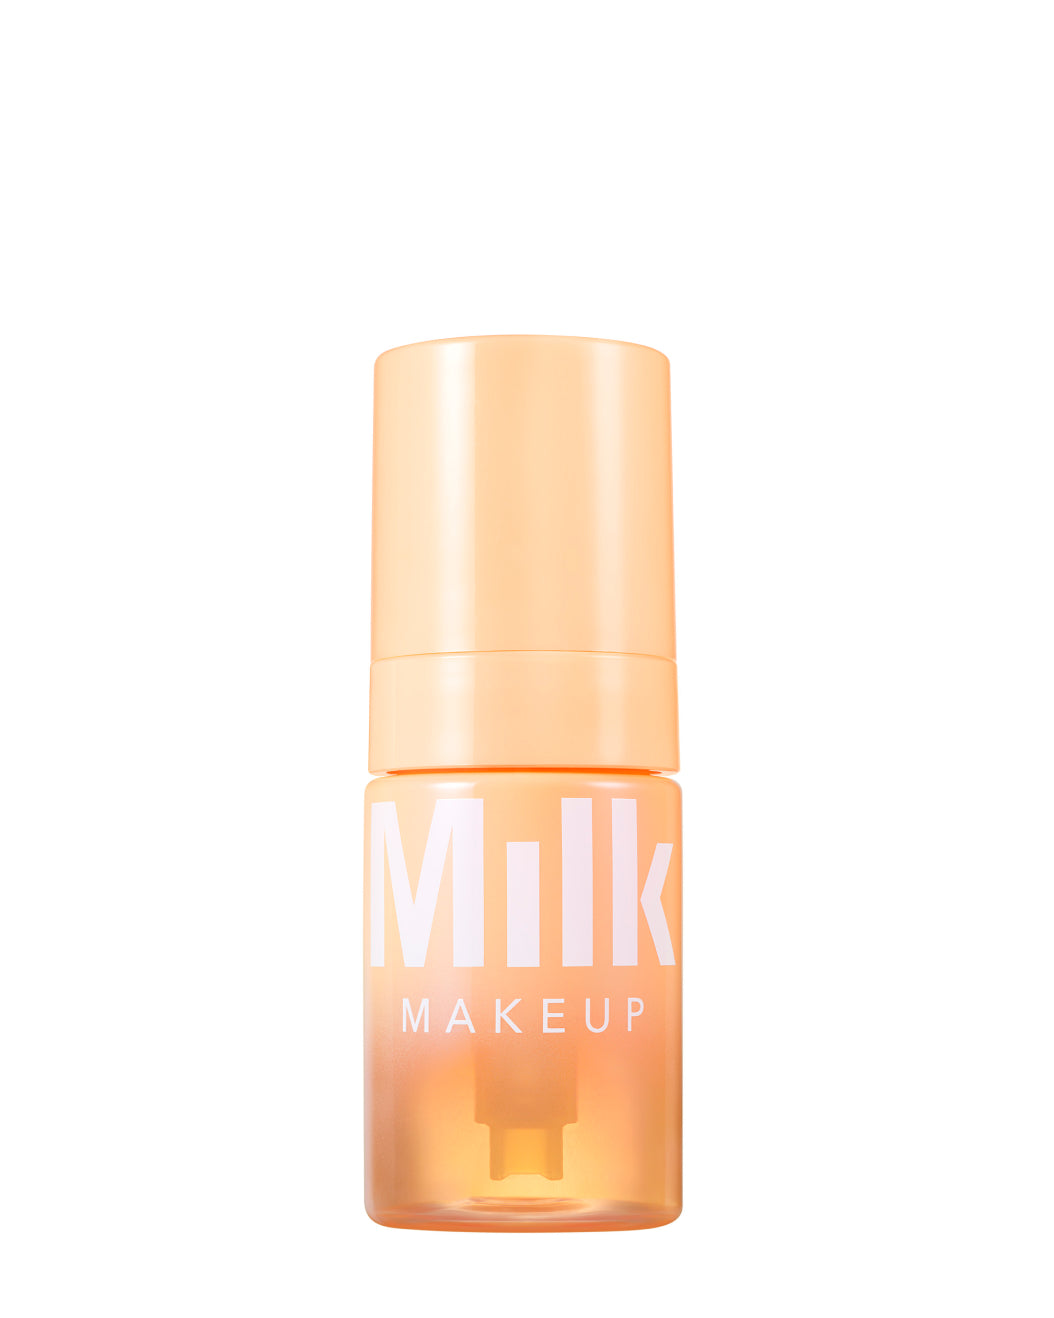
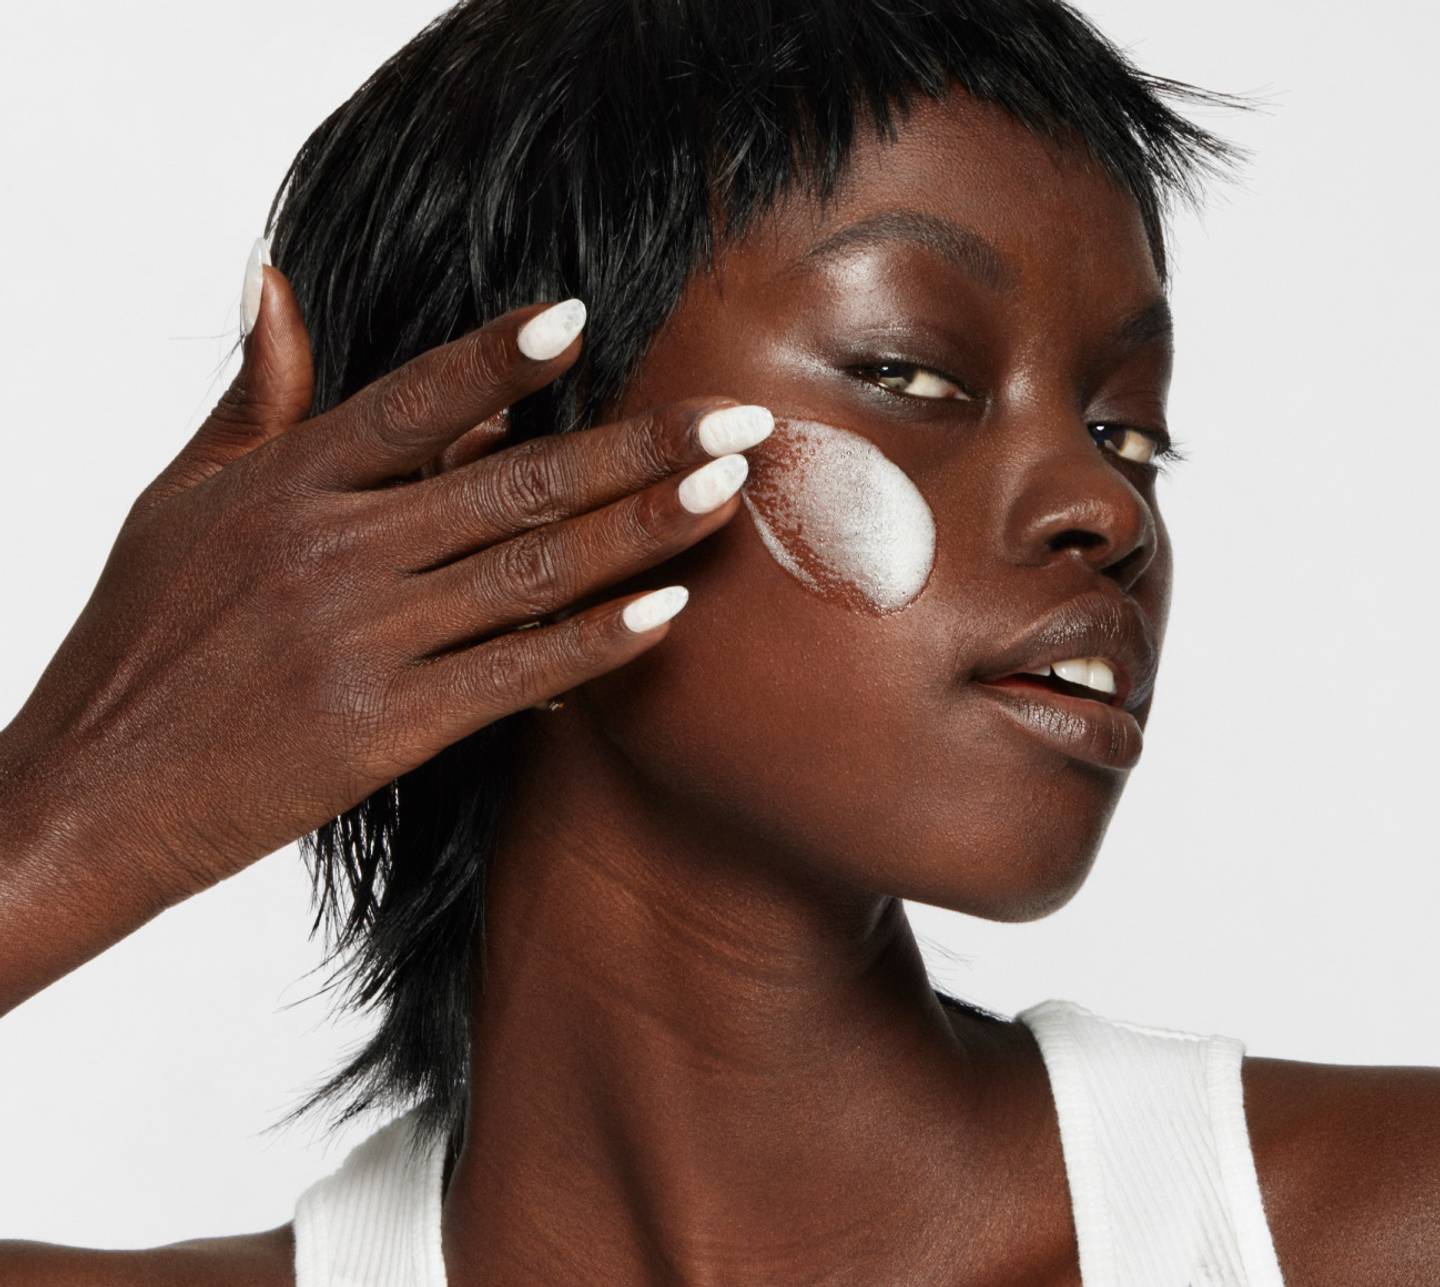
4. Prime. Now, pick your makeup primer. All skin types will drink up our new Cloud Glow Priming Foam, a brightening primer with a light-as-air texture that holds makeup for up to 12 hours and brings out your glow (not your grease). “This primer not only helps create a smooth base for makeup but also contains skincare ingredients like turmeric and saffron extracts to help brighten, reduce redness, boost radiance, and add hydration with one pump,” says Sara. If you want a more matte finish, you can also try our Pore Eclipse Mattifying Primer. Sara recommends layering it right over moisturizer so it “melts” into your skin and works its makeup locking, shine-blocking magic.
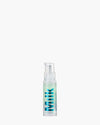
5. Set. Oily skin can always use a little extra insurance. After your makeup application, finish your skin-prep sandwich with a spritz of Pore Eclipse Matte Setting Spray to create a matte, filtered finish that lasts all day. As a bonus, you’ll be misting your face with ingredients like niacinamide and bakuchiol to help minimize the look of pores and fine lines while smoothing skin texture. “It keeps shine zapped throughout the day,” says Sara.
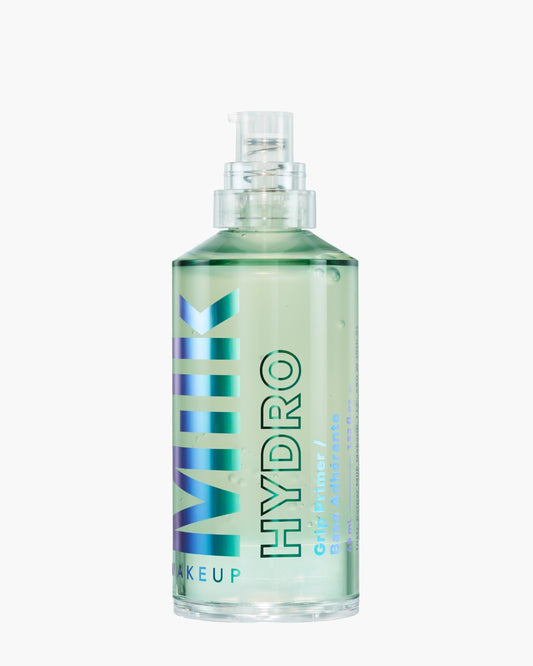
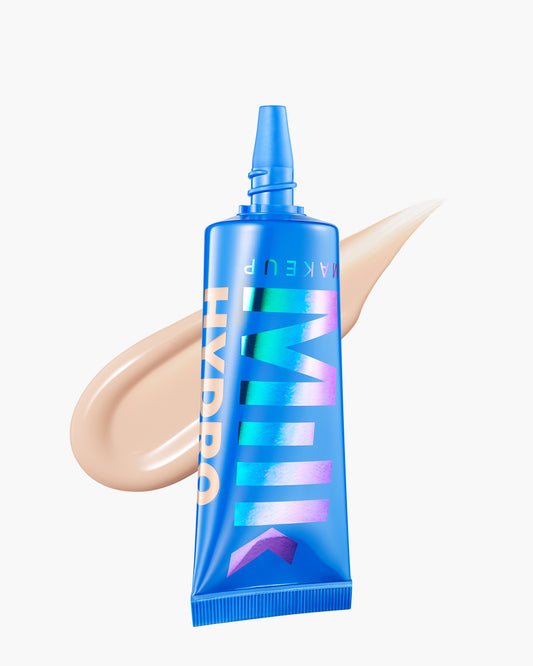
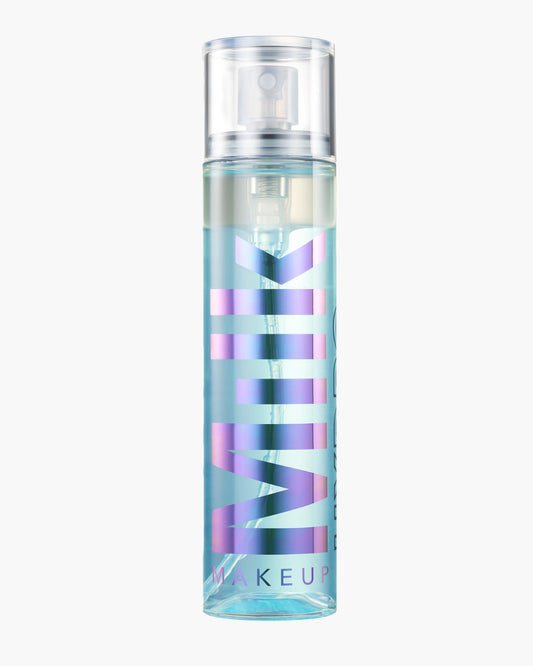
How to Prep Dry Skin for Makeup“If you don’t hydrate dry skin, it will ‘eat’ any products you apply that contain moisture,” says Sara. “This leads to makeup looking flaky and cakey.” There’s a way to avoid foundation that clings to dry patches as it gives your face that fresh-from-the-spa hydration. 1. Exfoliate. This is the most important step to creating a smooth canvas. “Removing dead skin cells is key when prepping dry skin,” says Sara. The easiest way to add a gentle exfoliator to your skincare routine? Grab a washcloth. Sara loves this trick for gently removing any dead skin without causing irritation. You can pair your washcloth with any cleanser, but make sure the formula doesn’t contain any soaps or harsh detergents that strip your moisture barrier. 2. Mist. When prepping dry skin for makeup, you want to lock in as much moisture as possible. After cleansing, add extra moisture with a spritz of hydrating mist. Sara loves using our Hydro Grip Set + Refresh Spray, which grips your makeup and boosts skin with hydrating ingredients like hyaluronic acid, aloe water, and hemp seed extract. 3. Moisturize. While your skin is still damp, add moisturizer. Sara recommends one to two layers of Vegan Milk Moisturizer, the perfect formula to calm and nourish your skin. “The argan and fig milks help smooth the surface of your skin while oat milk helps to calm,” she says. Make sure you give it a couple of minutes to fully absorb. If your delicate eye area also needs extra moisture, pat a little bit of moisturizer under your eyes as well—no eye cream needed. 4. Prime. Now it’s time to apply your primer. Sara’s two favorite formulas for dry skin are Cloud Glow Priming Foam and Hydro Grip Primer. Both are great picks for treating your skin to hydrating ingredients, creating a smooth canvas for makeup, and locking your look for up to 12 hours. Sara uses Cloud Glow for “extra radiance and brightening” and Hydro Grip when she wants an extra-dewy, hydrated skin look. 5. Refresh. Dry skin can sometimes use an extra drink of moisture throughout the day, so after you finish your makeup routine, pop a mini of our Hydro Grip Set + Refresh Spray in your bag. Not only will it add extra grip to your look, it’s also the easiest way to give your skin a hydrating refresh if it starts looking dry. |
How to Prep Combination Skin for MakeupIf your skin gets flaky in places and greasy in others, this routine is for you. “Combination skin can be the trickiest to prep for makeup since your cheeks tend to be dry while your T-zone is oily,” says Sara. Instead of using a one-base-fits-all solution, break your face up into its individual zones. “I recommend treating the areas differently,” says Sara. 1. Cleanse + exfoliate. Use the same washcloth trick Sara recommends for dry skin types, focusing on areas that get dry and flaky, which is usually around your cheeks and nose. Remember: Rub gently after your skin is damp so you don’t cause any irritation. 2. Moisturize. Grab your Vegan Milk Moisturizer and go in with a two-layer approach. Sara recommends applying a light first layer all over the face. Once that’s fully absorbed, go in with a second layer only to the areas that need more hydration. This way, you don’t run the risk of weighing down your T-zone with too much product. 3. Multi-prime. Just like your moisturizer, your primers should selectively target the areas where they’re needed most. You have two options here. The first is to apply Hydro Grip Primer on your cheeks and Pore Eclipse Mattifying Primer on your T-zone. Or, if you want a brightening boost, go in with a layer of Cloud Glow Priming Foam all over before applying a light layer of Pore Eclipse Primer to any oily areas. 4. Set. If you want to control grease throughout the day after applying your makeup products, our Pore Eclipse Mattifying Setting Spray plays well with combination skin. “Use it all over to control oil without blocking glow,” says Sara. One spritz will lend a soft-matte filtered finish to any shiny areas without drying out your skin or turning your makeup flat. It’s the secret to keeping your skin prep on lock. |
Meet the Expert:
Sara Wren (she/her) is the Director of Artistry at Milk Makeup. In her role, she does all the makeup artistry and direction for our Milk Makeup global campaigns, educates the staff and field team on application methods, stars in the brand’s social media videos, and travels to different markets spreading Milk Makeup’s good vibes. When she’s not on set, Sara loves experimenting with DIY hair colors, eating tacos, watching basketball, and scouring for vintage cosmetics to add to her impressive collection.
 "
"
