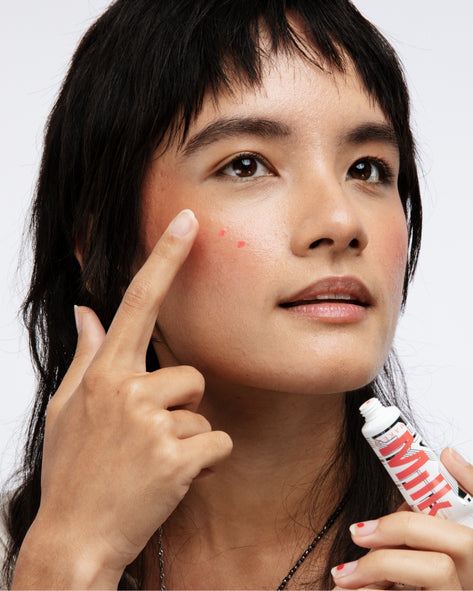
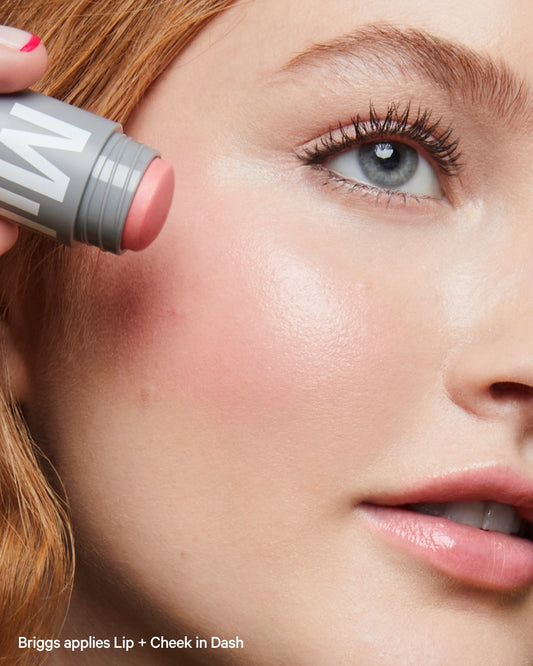
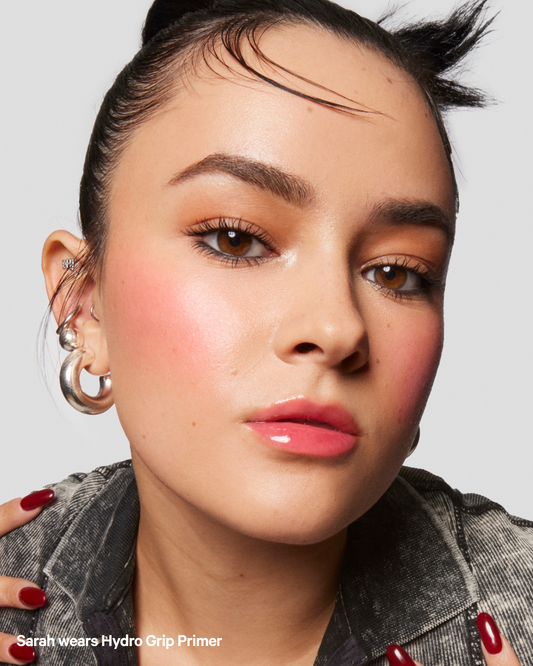
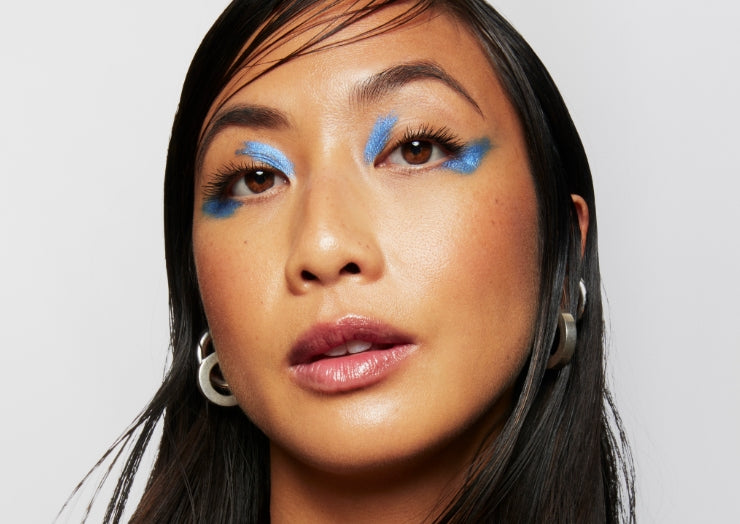
You don’t need to be clairvoyant to get into one of the coolest makeup trends on BeautyTok. Aura blush is the cool, painterly way of blending your blush that looks super artistic. It requires you to layer two or three blush shades to create a multi-dimensional, aura-like glow that goes with just about any look.
There is a vast, colorful pool of blush offerings, and aura blush is a fun way to dive in and take advantage of the variety. “This is a great way to experiment with blush and placement while including different tones,” says Sara Wren, Milk Makeup’s Director of Artistry.
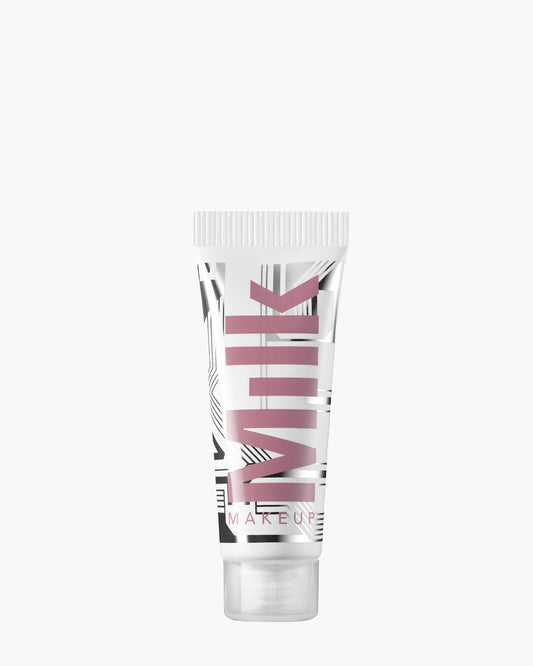
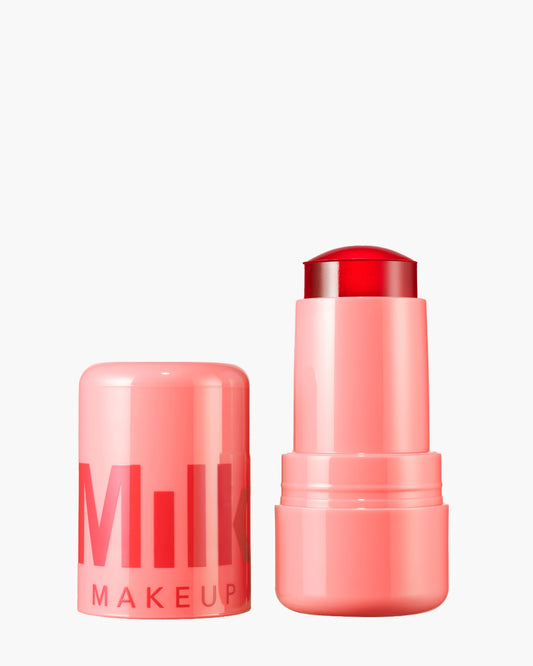
Liquid blush, particularly our Bionic Blush, is the key to achieving the dreamiest Aura Blush. The thin, watercolor-like formula helps you seamlessly stack shades. It’s effortlessly buildable and blendable, Sara notes. Plus, Bionic Blush also gives skin a couple of extra layers of hydration—courtesy of hyaluronic acid and mushrooms of the snow and reishi varieties—in the process. You can also achieve the look with thicker blush consistencies, but you’ve got to be extra careful not to create unwanted texture or an effect that is more dramatic than you wanted it to be.
Not sure which colors to cluster for your aura blush moment? Maybe start with Bionic Blush in Beyond (plumberry) and Teleport (bright coral) for a daring, high-contrast vibe. Fly (ruby red) and Infinity (dusty rose) give your look a softer, more sultry feel. “Choosing two different contrasting tones will work best for creating an aura effect,” Sara explains. You can also use whatever color you’re intuitively drawn to—feel free to play around. In the meantime, get the rundown on exactly how to nail aura blush.
For our quick tutorial below, we tapped Bionic Blush Infinity, Teleport, and Fly.
Step 1: Lay down the lighter shade + blendFor the outer ring of your aura blush, you’ll want to reach for the lightest shade in your color selection first. Tap it onto your cheeks with a clean fingertip. Here, we use Infinity. The color should take up the same amount of space on your cheeks as it does when you typically do your makeup. Don’t be afraid to play with your placement, though. “I recommend placing your aura blush closer to the temples for a more lifted look,” Sara says. “For something more experimental, try taking your aura across the bridge of the nose with the center being at the bridge of the nose and fading outward on the cheeks.” There are several ways you can try this trend. Melt the first layer into your skin with a fluffy synthetic brush. This tool “will evenly place and blend your liquid blush without looking streaky,” Sara shares. Be sure to stamp—not sweep—the pigment into your skin to keep the color concentrated in the right area. |
 |
Step 2: Stack on your second colorNow, you’ll want to focus the other, brighter blush hue at the center of that orb of color you just created on your cheeks. Think of stacking the colors like a layered wedding cake that gets smaller as you go upward. |
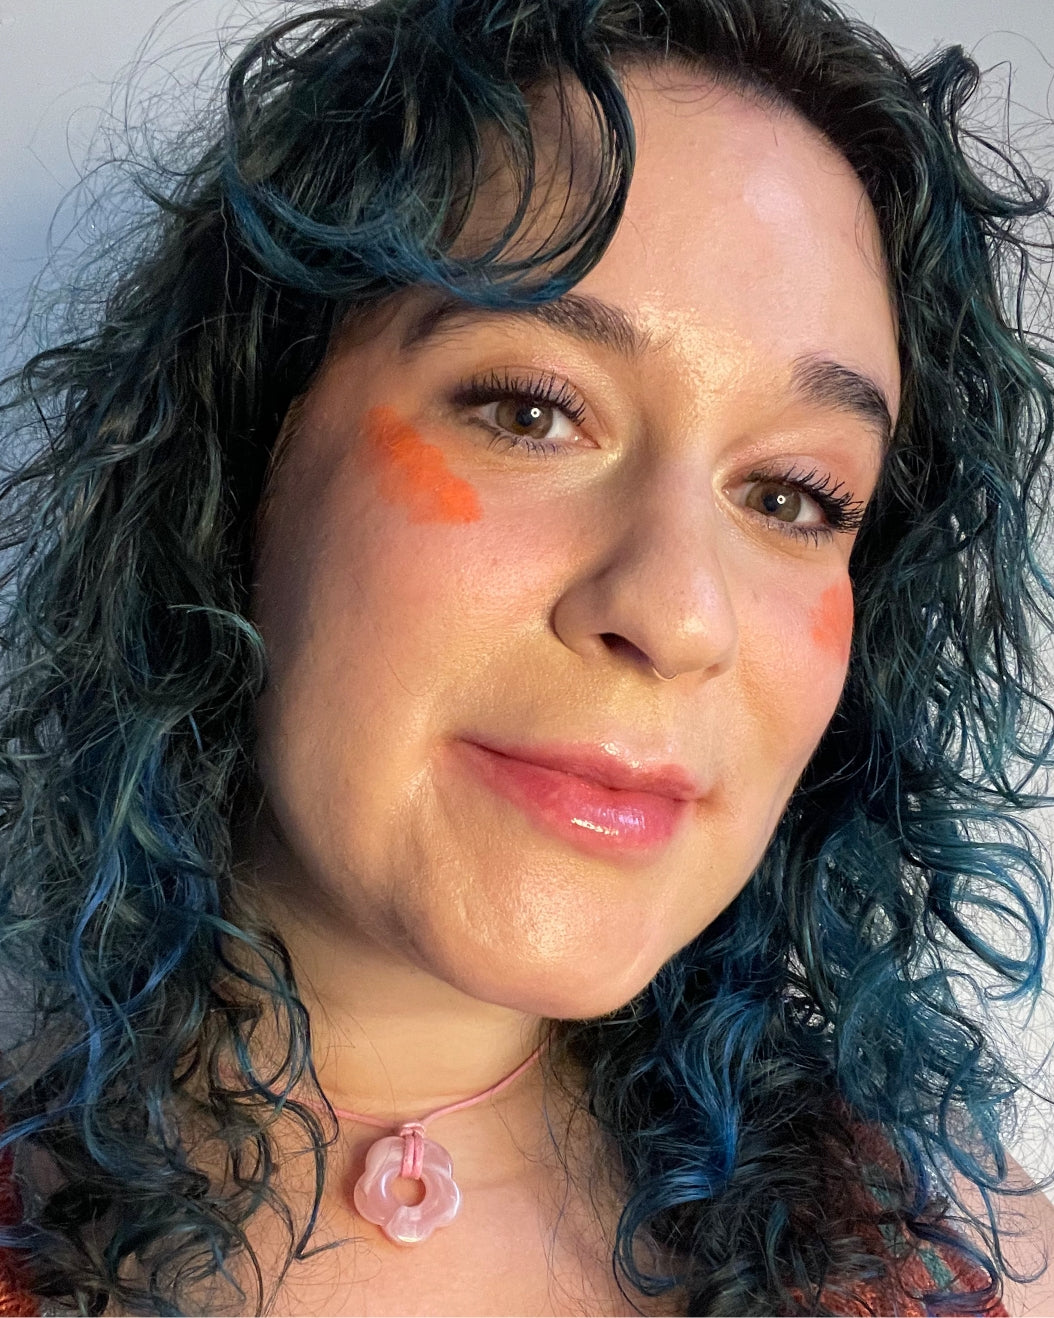 |
Step 3: Blend + finishWith the same fluffy brush, buff in that shade. From there, you can add another color with a smaller surface area smack in the center of your Aura Blush. However, it’s totally fine to use just two shades—the end result is still incredibly impactful. We won’t blame you if you never wear only one blush color again. |
 |
Meet the Expert
Sara Wren (she/her) is the Director of Artistry at Milk Makeup. In her role, she does all the makeup artistry and direction for our Milk Makeup global campaigns, educates the staff and field team on application methods, stars in the brand’s social media videos, and travels to different markets spreading Milk Makeup’s good vibes. When she’s not on set, Sara loves experimenting with DIY hair colors, eating tacos, watching basketball, and scouring for vintage cosmetics to add to her impressive collection.



 "
"