Wearing blush is no longer just an option—it’s an essential part of any makeup look. Everywhere we turn, we’re seeing endless inspiration for how to apply blush in delightfully modern ways. From bubblegum veils to the blush trends taking over TikTok (Tomato girl! Undereye! Strawberry girl!), there’s no shortage of inspiration for how to wear blush.
But where is all this blush hype blossoming from? People are more experimental with eye makeup than ever, so attention has traveled onward to our lips and cheeks, too, says Sara Wren, our Director of Artistry. Plus, “People relate blushing to happiness or even flirting,” she adds. Blush has a way of evoking emotion because it echoes something our bodies naturally do.
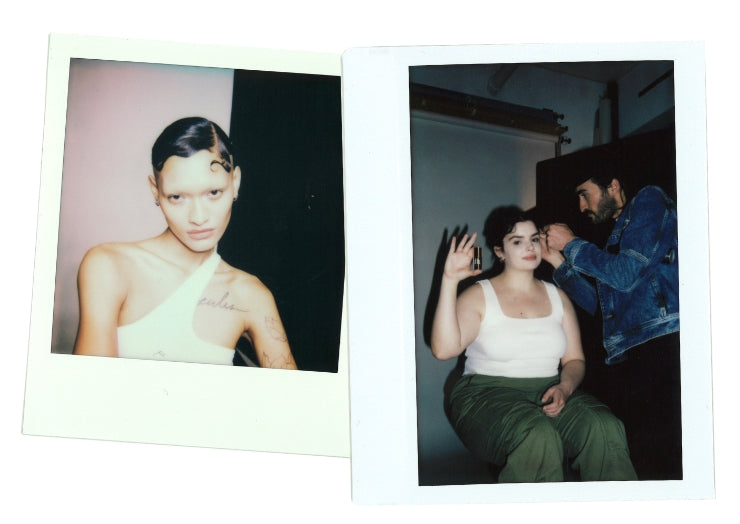
Sara also loves how blush can be the focal point of her makeup, particularly when paired with a simple swipe of RISE Mascara and KUSH Lip Oil. “Personally, that’s a look I get the most compliments on,” she shares.
Ready to explore the new world of blush? With Sara’s expert tips, we put together the ultimate guide to how to wear blush below.
1. Prep your skin.
If you want your blush to go on smoothly and stay vibrant all day, Sara recommends priming your skin first. Our Milk Makeup Hydro Grip Primer will boost your skin’s hydration levels, while our Pore Eclipse Mattifying Primer will help create a filtered finish and control oil and Cloud Glow Foaming Primer brightens lackluster skin. (We have a whole makeup primer guide on these if you need more help choosing one.)
From there, move on to foundation or concealer, depending on your desired level of coverage. Be intentional about the places you’re putting your base makeup, especially around your nose and under your eyes. “If you have competing redness in your skin, cancel that out so you can start with a fresh canvas,” says Sara. This step will also keep your blush from making you look like you’re fighting a cold or allergies.
2. Pick your formula.
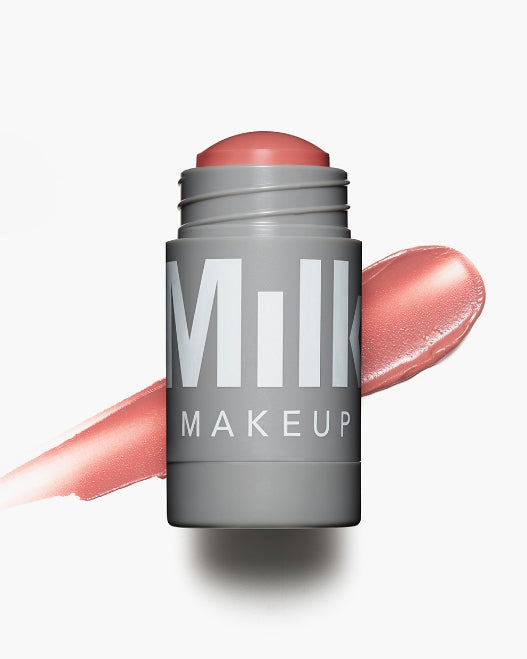
Knowing the finish and level of pigmentation you’d like to achieve on your cheeks will help you select the right blush formula for you. For dewy, sheer looks, we love a cream blush like Milk Makeup Lip + Cheek. For a glassy pop of color, grab a liquid formula like our Milk Makeup Bionic Blush. Alternately, Cooling Water Jelly Tint gives cheeks a vivid, watercolor-like stain with a natural finish.
 |
 |
3. Select your shade.
Sara’s best advice is to seek out a color that matches the vibe of your overall makeup look. From there, you can find the most flattering fit for your skin tone. If pink is your desired blush shade, lighter skin tones might gravitate more toward a soft pastel, while deeper tones might prefer a hot pink hue. But again, the ultimate shade selection depends on your aesthetic, and you can’t go wrong with any of Milk Makeup’s blush shades as they are formulated to be universally flattering.
4. Nail your technique: fingers vs. brush.
Not sure how to apply your blush? Whichever formula you’re working with, Sara recommends not swiping them directly onto your skin. Instead, grab a fluffy brush or wash your hands if you prefer some finger painting.
If you’re using Lip + Cheek or Cooling Water Jelly Tint, dab the brush onto the stick over and over again until every bristle is evenly coated. This will ensure a more even, diffused application. Use the same approach if you want to use your hands, employing your middle and ring fingers to deposit and blend the formula. The same method for liquid formulas, like our Bionic Blush. Add a pea-sized amount of product onto the back of your hand, and work your brush into it from there.
One thing to watch out for, no matter which formula you choose: Don’t rub your blush across your skin. Patting and tapping are key for not disturbing any makeup underneath. It will also help concentrate your blush color in all the right places.
5. Try a new blush trend.
There are endless ways to wear blush, but if you’re short on inspiration, try a few of Sara’s current favorites.
Watercolor BlushFor a blush look that resembles the dreamy see-through effect of watercolor on paper, reach for a blush stain such as Cooling Water Jelly Tint. It has a translucent finish that allows your skin to shine through its juicy burst of color. Sweep a fluffy brush across the top of your blush stain before dabbing it onto your cheeks. Then, diffuse the edges with the same brush. |
 |
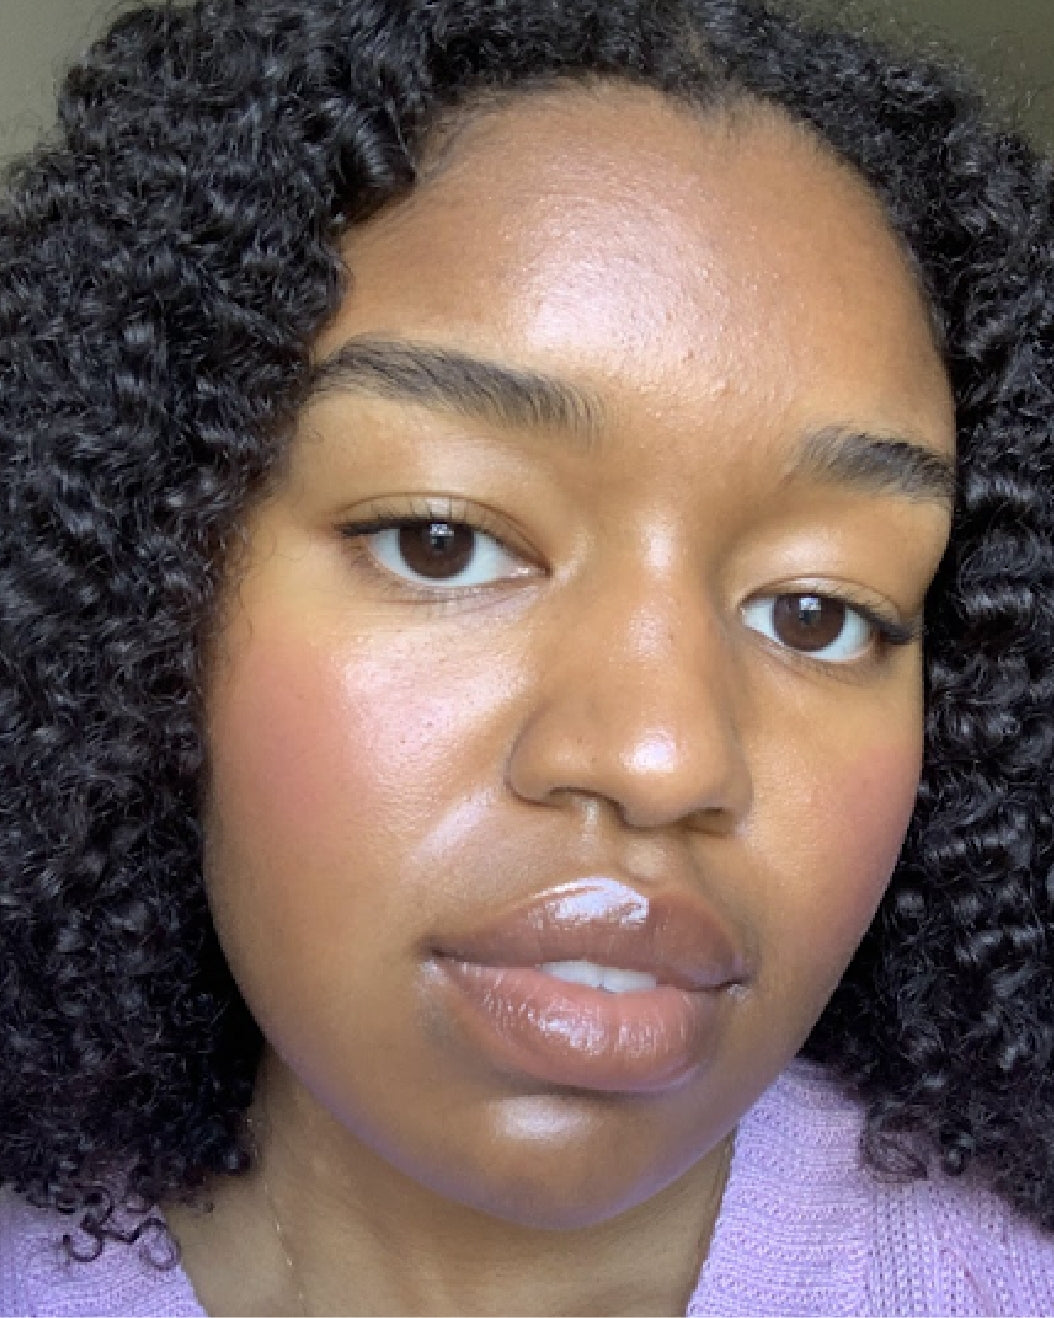
Royal FlushFor that gorgeous, just-walked-off-the-set-of-Bridgerton glow, you’ll need to locate the center of the apples of your cheeks. Then, aim your brush directly there. “Where you put your brush down is going to be where the majority of the pigment goes,” says Sara. Instead of bringing the color upward, you want to concentrate it on that center area, avoiding nostril territory. Stipple the blush onto your skin until you have a dreamy orb of blush radiating from your cheeks.
|
|
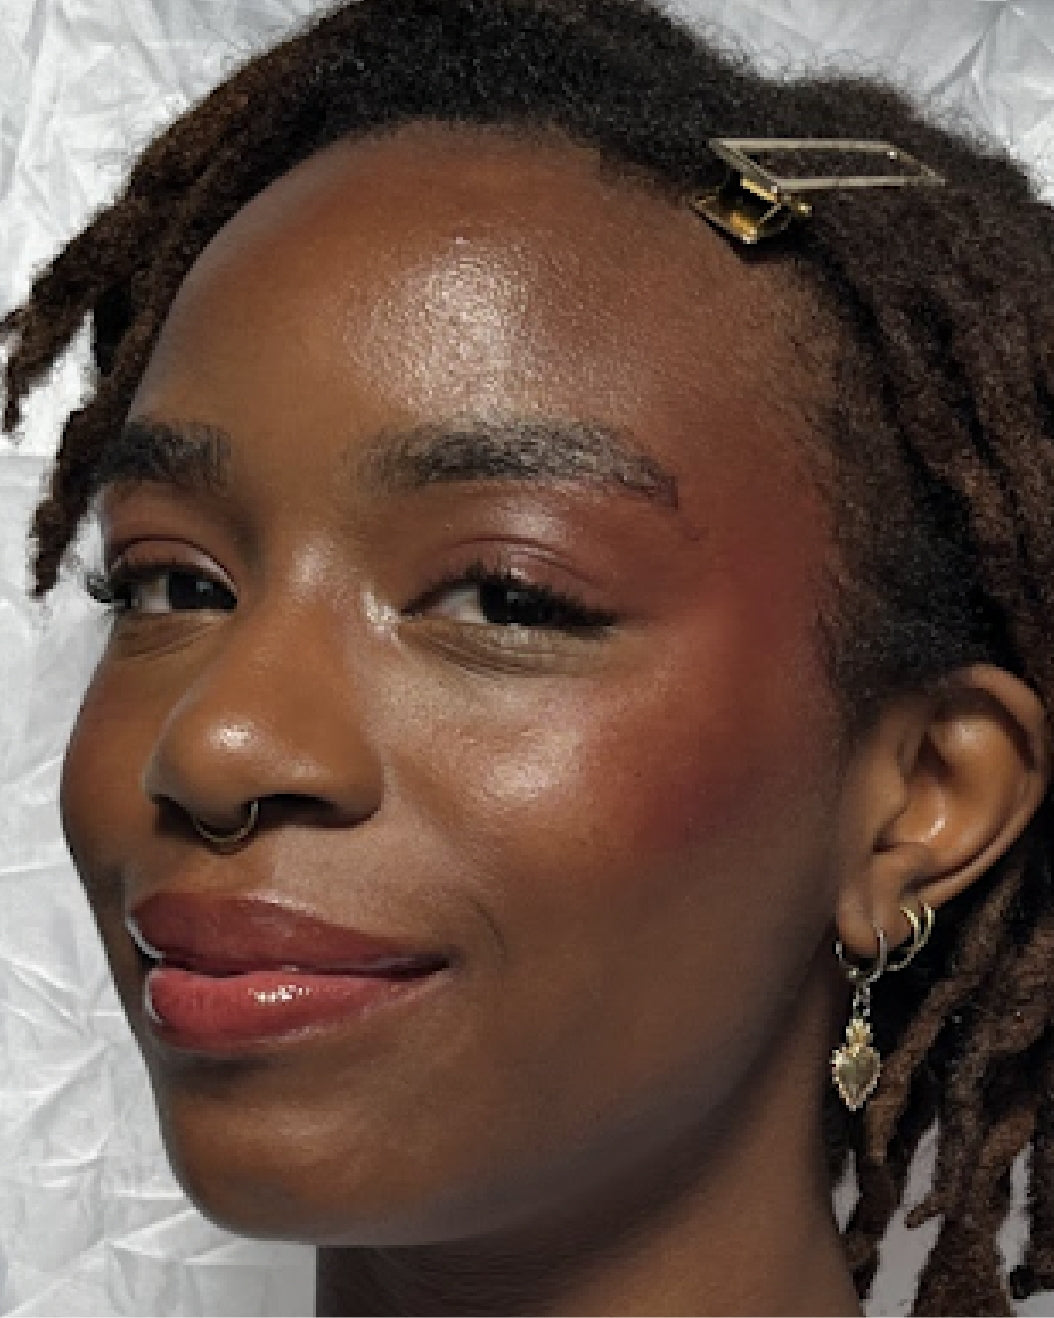
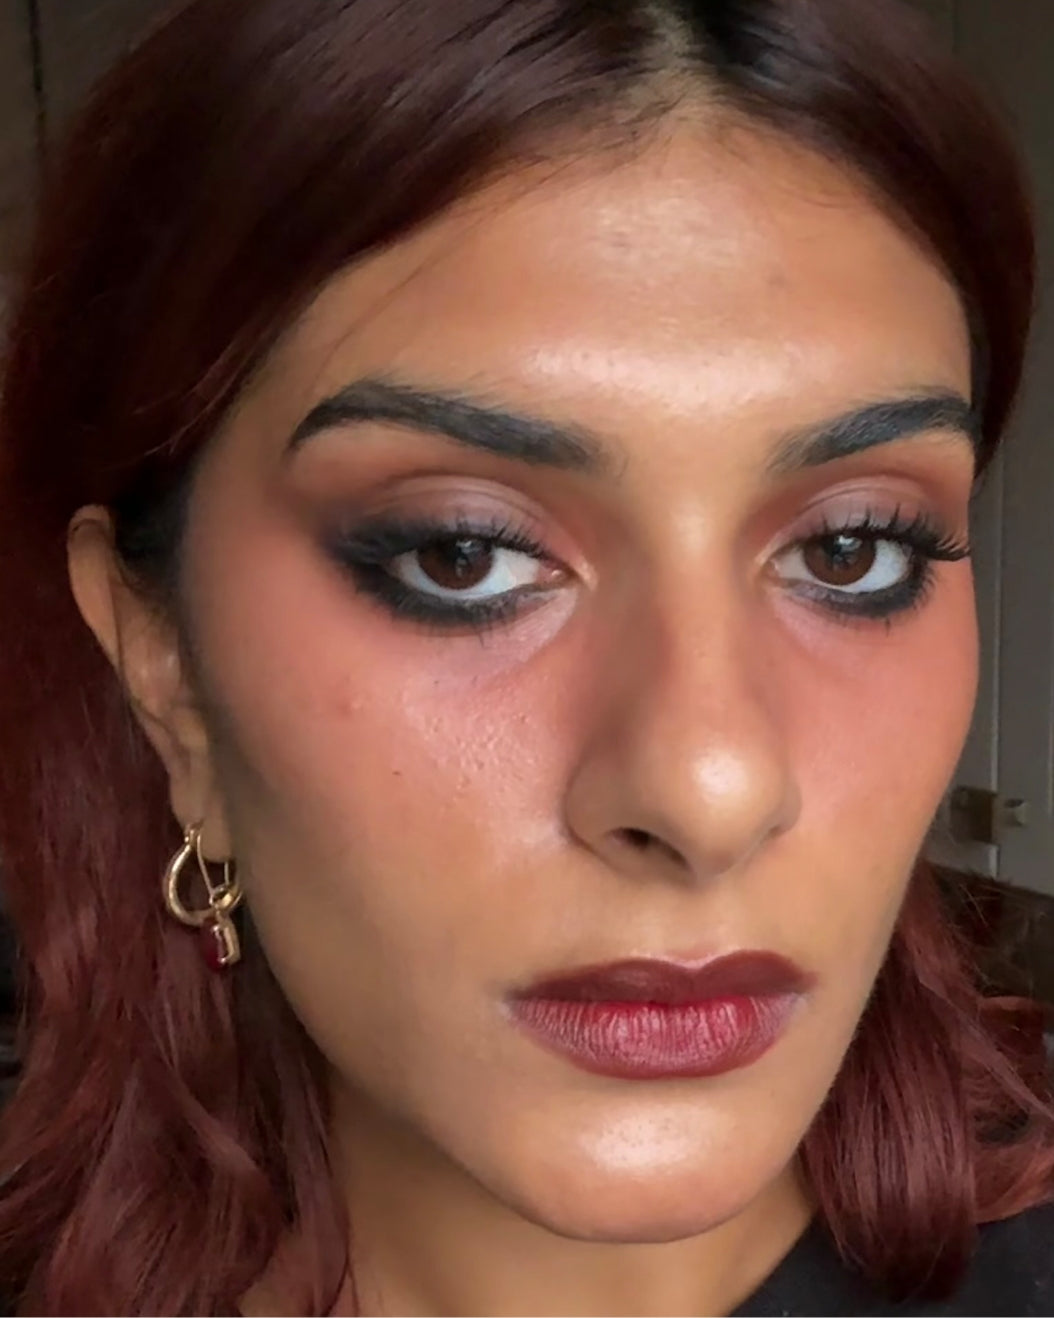
Halo BlushWhenever Sara wants to create a quick makeup look that looks elevated, she likes to apply “halo blush,” the modern version of draping. To get the look, create a “loop” of color around your eyes that starts at your temples and ends atop the middle of your cheekbones in a “C” shape. You can build up the color for a dramatic flush and blend it into the creases of your eyes for continuity—or keep your blush halo subtle and ethereal. |
 |
Cloud Blush
For a faux sunkissed effect, place your brush onto the bridge of your nose where your sunglasses typically sit. Then, drape the color over the bridge of your nose on either side. From there, Sara likes to blend her blush up to her temples. For a subtler effect, you can keep the little cloud of color focused just around the bridge of your nose. |
|
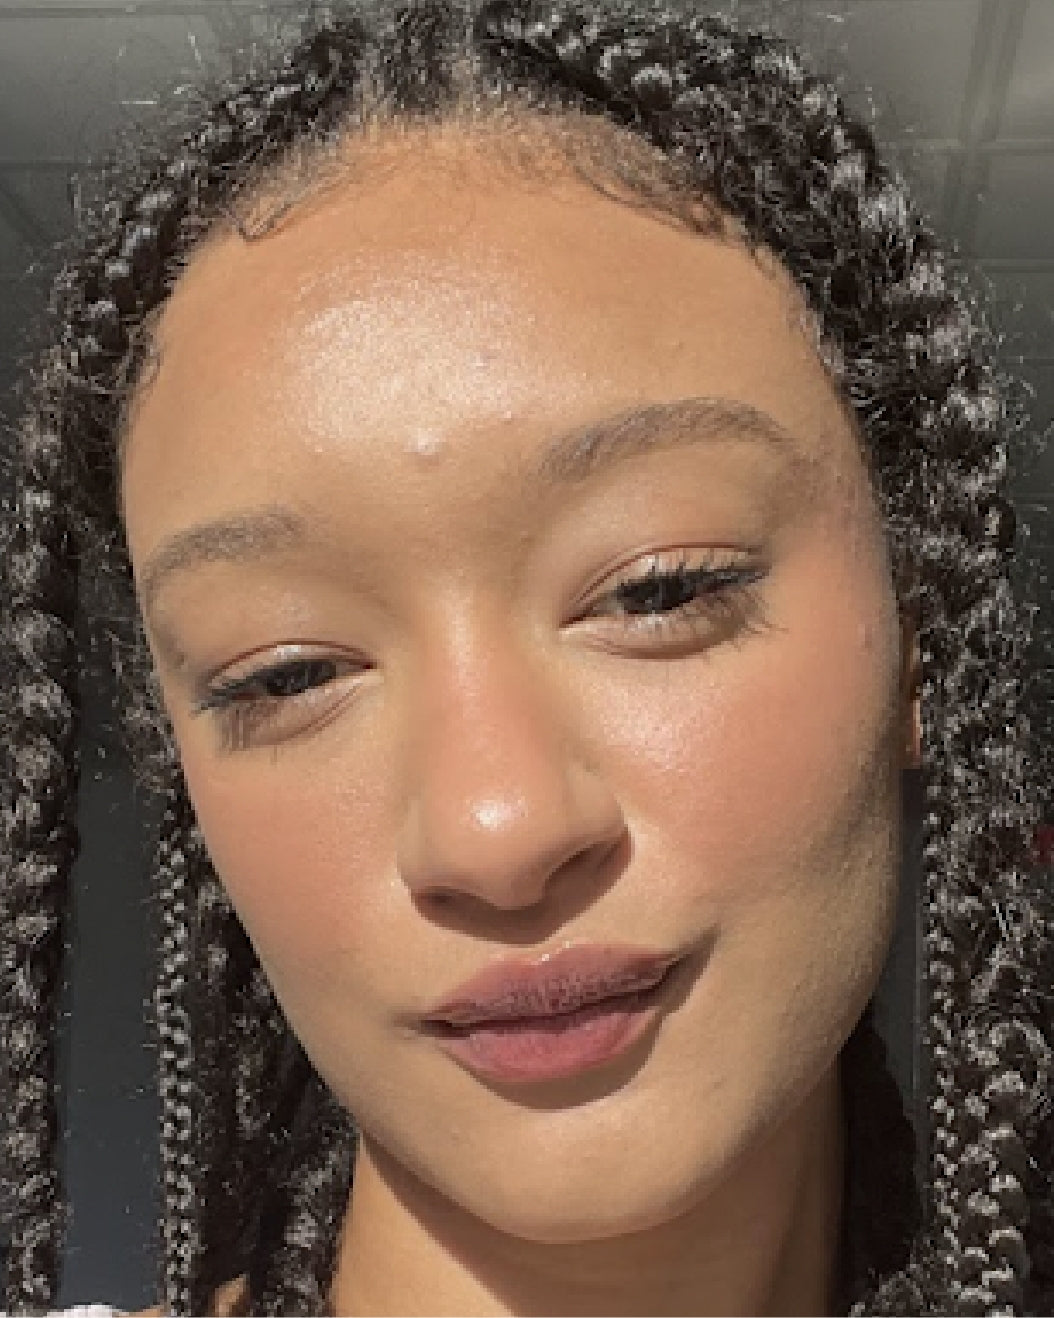
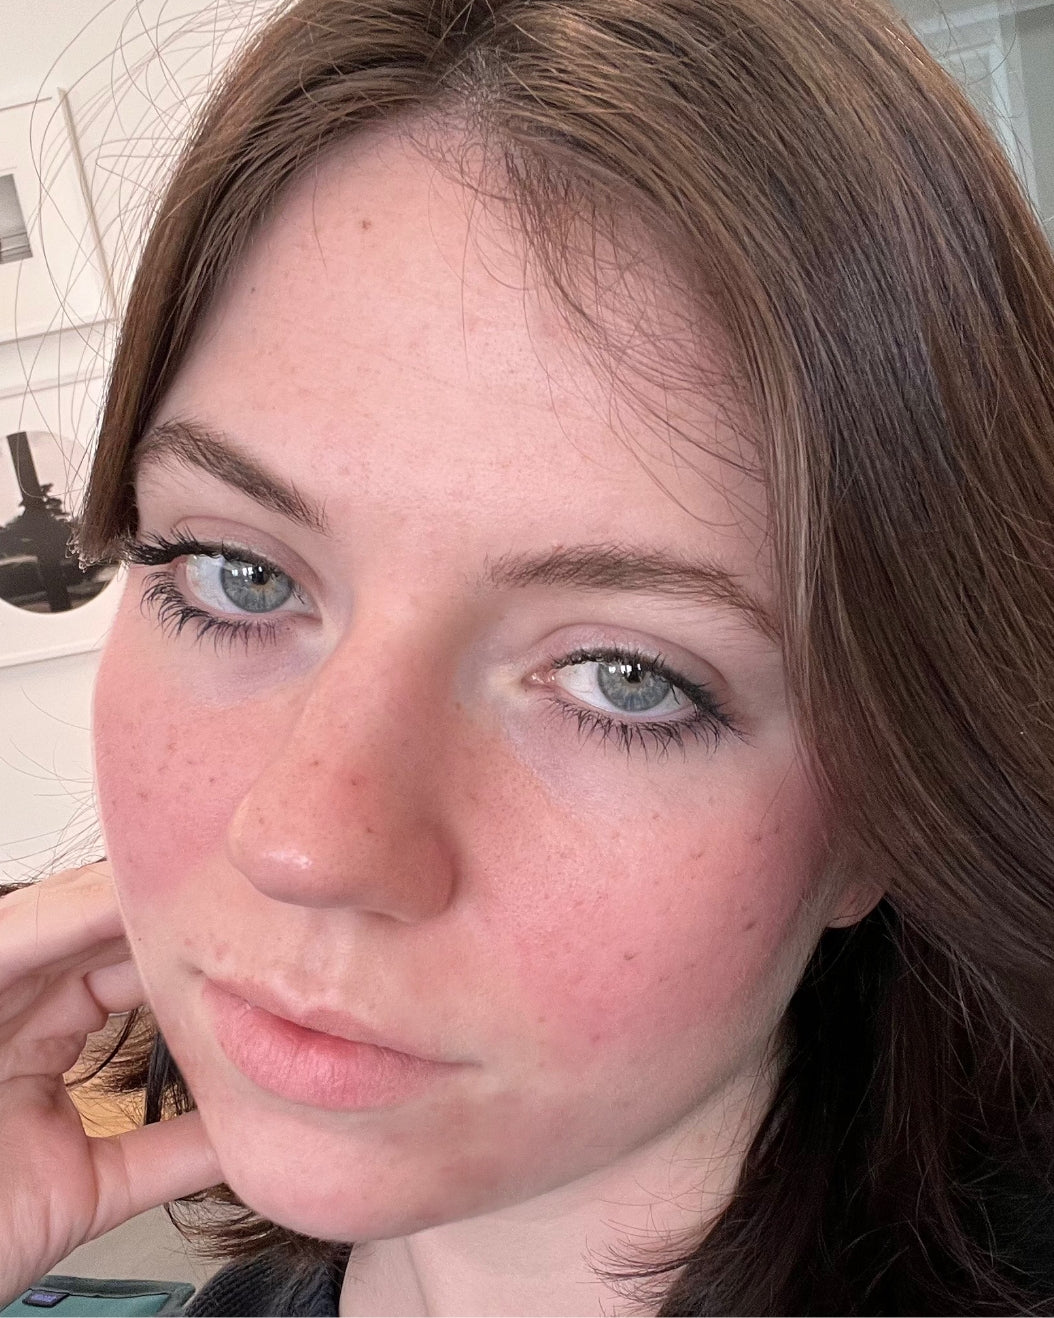
Under-Eye BlushA playful way to distract from dark circles: Place your blush under the outer corners of your eyes. “Pink and warm colors immediately act as a color correction under the eyes, so they eliminate the need for more concealer,” says Sara. You can also dab blush below the center of your lash line and blend downward toward the apples of your cheeks to further experiment with this brightening placement. |
|
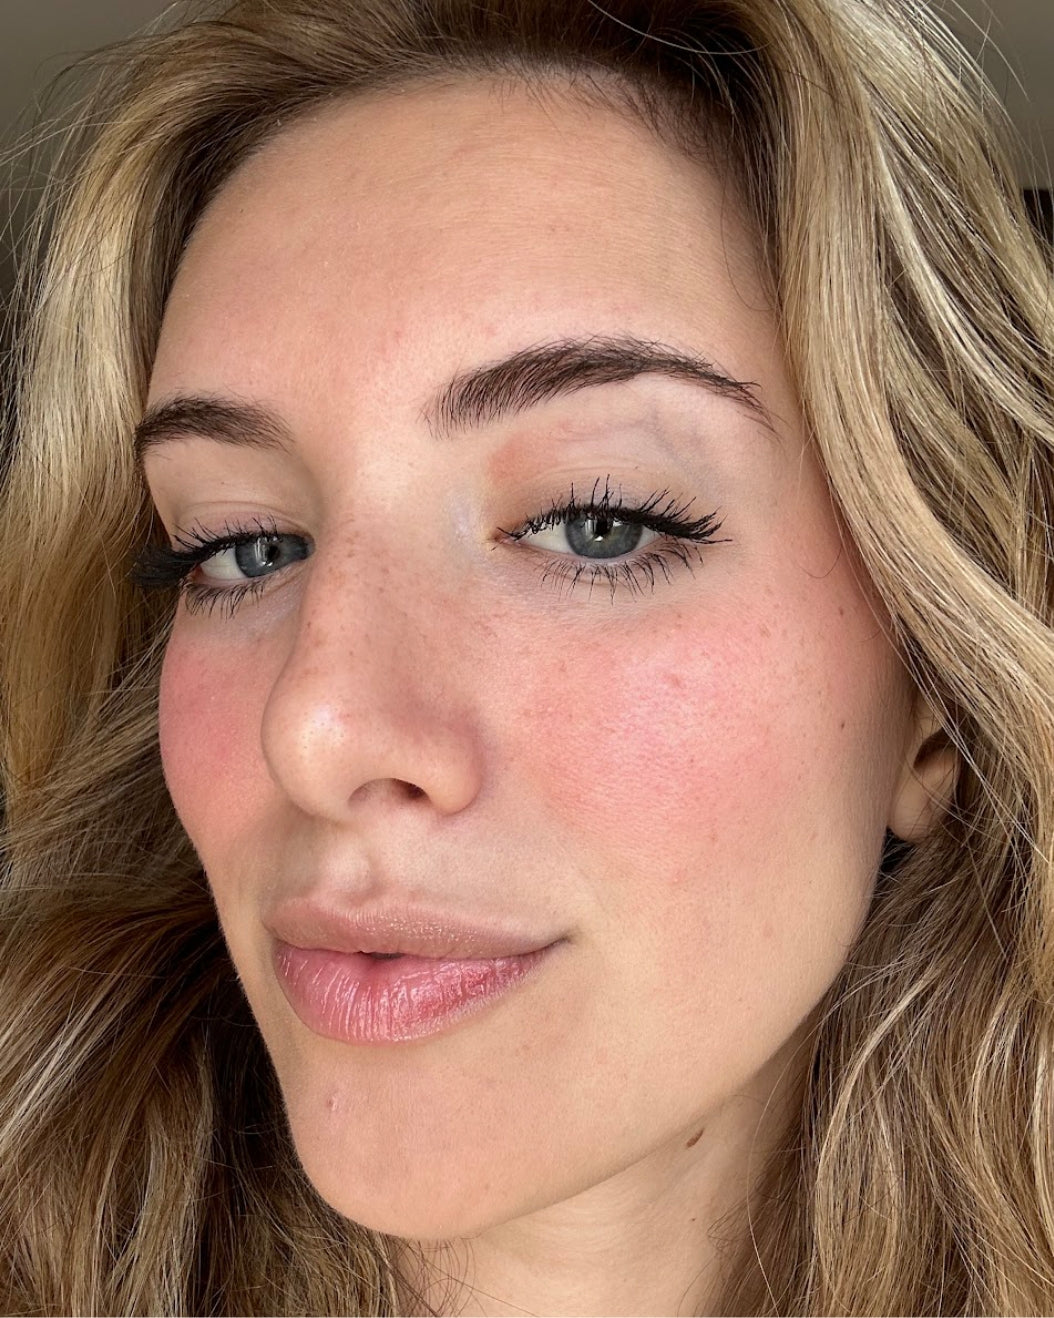
Strawberry Girl BlushFlushed cheeks and faux freckles took over social media when Hailey Bieber popularized “Strawberry Girl Makeup.” One major key to this look is combining pink and red-hued blush. Apply the lighter pink color along your cheekbones for a lifted look, then use the red on the apples of your cheeks to get that dimensional effect. Try Lip + Cheek in Flip or Muse for the red shade and Lip + Cheek in Werk or Rally for the lighter pink. Cooling Water Jelly Tint in Burst and Chill are great options too. The cherry (or strawberry) on top of this look are the faux freckles. Reach for our Infinity Long Wear Eyeliner in Limitless to dot tiny little freckles across your nose and cheeks.
|
|
Natural FlushFor that gorgeous, just-walked-off-the-set-of-Bridgerton glow, you’ll need to locate the center of the apples of your cheeks. Then, aim your brush directly there. “Where you put your brush down is going to be where the majority of the pigment goes,” says Sara. Instead of bringing the color upward, you want to concentrate it on that center area, avoiding nostril territory. Stipple the blush onto your skin until you have a dreamy orb of blush radiating from your cheeks. |
 |
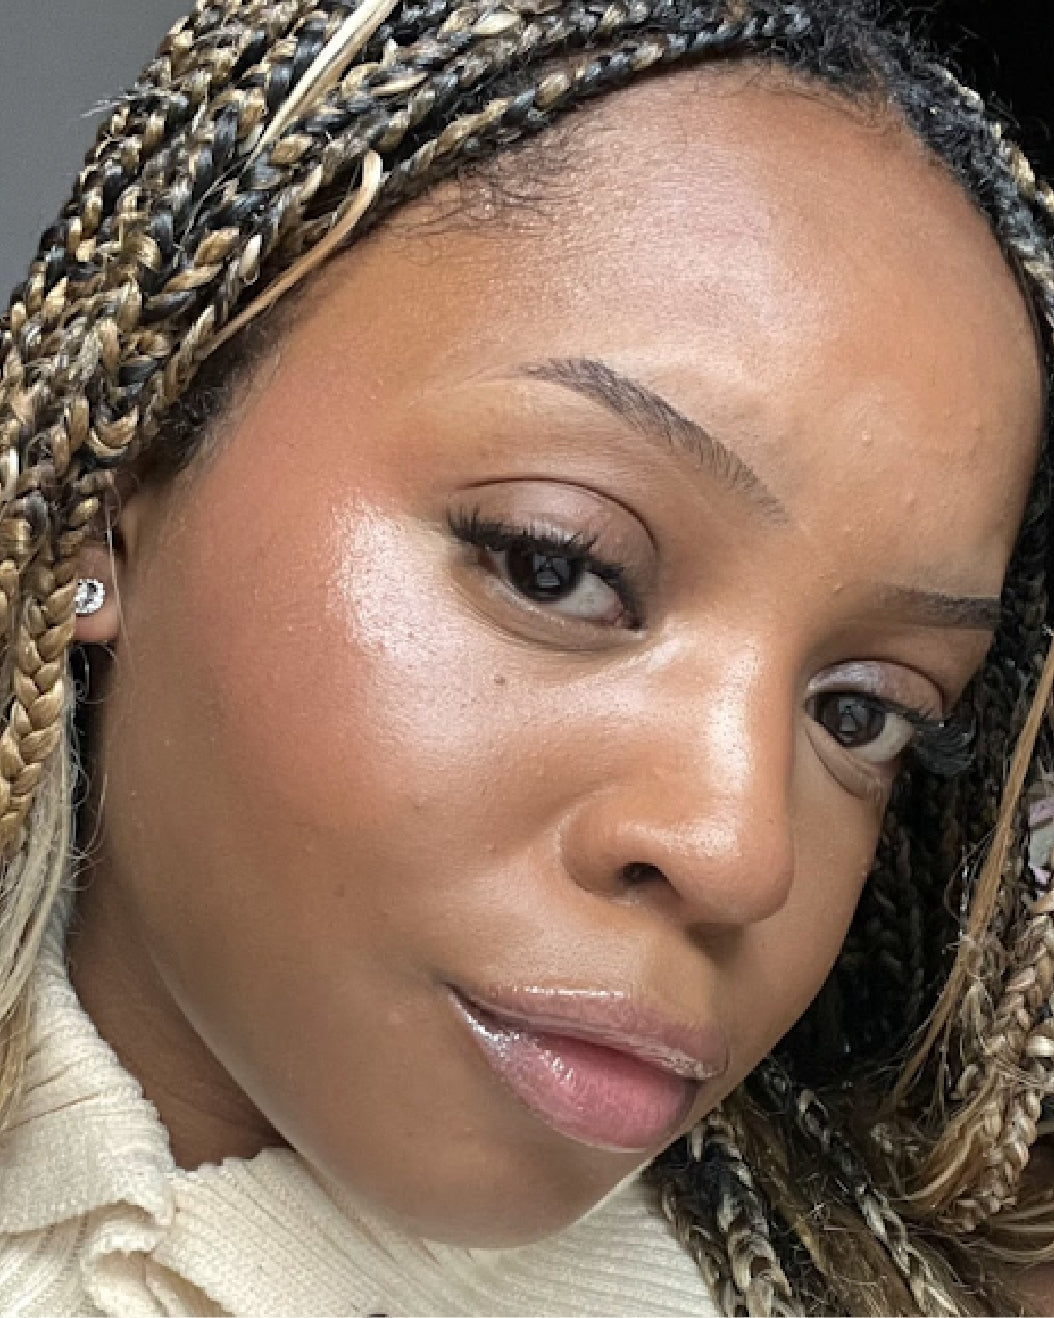
Stained Glass BlushIf you’re looking to add dimension to your cheekbones and light up your face, stained glass blush is a fun look to try. Start by choosing three different cream or liquid blush shades: a light color, a hue similar to your natural flush, and a deeper shade. Next, add a pea-sized dot of the lighter blush on your cheekbones where you would apply your highlighters. Then, place the deeper shade of blush just below it and the natural shade on the apples of your cheek. Finally, blend all three colors to get a multidimensional flush. Our Lip + Cheek sticks are perfect for this, but if you’re looking for a super dewy finish, Mimi Sanchez (she/her), our Market Trainer for New Jersey, suggests using our Bionic Blushes. Her go-to combo? “Fly at the tops of your cheeks, Infinity underneath, and Teleport at the apples.” |
|
Tomato GirlTomato girl makeup takes the concept of being red in the face and makes it look, well, actually cute. The key here is to add a reddish hue to the parts of your face that tend to get sunburned. Blend a red-toned cream blush (Lip + Cheek in Flip, Bionic Blush in Fly, and Cooling Water Jelly tint in Chill are perfect for this) on your nose bridge, the high points of your cheekbones, and your forehead. Want a more autumnal vibe? Use a color with an orangey tone, like our Lip + Cheek in Swerve or Cooling Water Jelly Tint in Spritz. You can make the look as intense or subtle as you like, Mimi explains. “For a more natural finish, I would recommend using fingers, but if you’re aiming for a more pigmented look, you should use a brush,” she says. |

|
6. Clean it up.
In the event that you accidentally overapply your blush, Sara suggests picking up a clean, fluffy brush and stippling it over the area where you overdid it to lift away excess pigment.
For a more seamless finish, you can also blend out the edges of your blush with the same brush you used for blending your foundation and concealer. The best part of blush, though, is it doesn’t have to be perfect. So grab your favorite formula and start experimenting.
Meet the Expert
Sara Wren (she/her) is the Director of Artistry at Milk Makeup. In her role, she does all the makeup artistry and direction for our Milk Makeup global campaigns, educates the staff and field team on application methods, stars in the brand’s social media videos, and travels to different markets spreading Milk Makeup’s good vibes. When she’s not on set, Sara loves experimenting with DIY hair colors, eating tacos, watching basketball, and scouring for vintage cosmetics to add to her impressive collection.
-%E2%80%A2-Instagram-photos-and-videos-v1708111858385.png?309x309)