It seems as if every other day, a new TikTok concealer hack goes viral. We’ve been feeling one in particular, though: the face lift concealer hack.
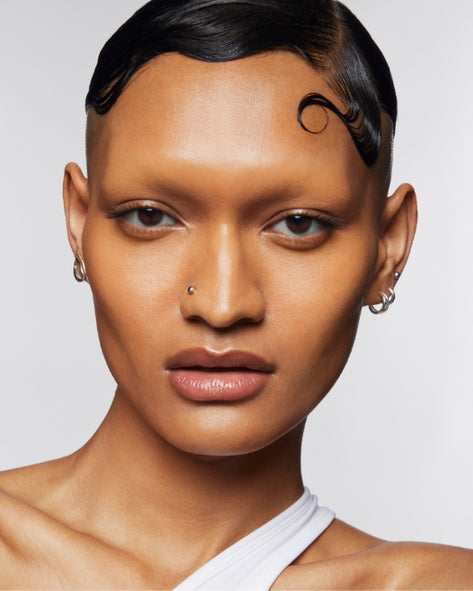
The trend draws upon tried-and-true makeup techniques, but hones in on them to lay out an easy way to make your face look more lifted. Just a few well-placed diagonal stripes of concealer and you can fake (or enhance) the look of higher cheekbones, brighten your eyes, and snatch your jawline.
Think of it as the makeup version of gua sha. Or, if it’s more helpful, the look your face gets when your hair is pulled back in a tight, high ponytail—except you don’t have to put tension on your hairline to get that lifted complexion.
Achieving the look is pretty easy. We asked Sara Wren, our Director of Artistry, to break down the steps for recreating the face lift concealer hack all over TikTok.
Prepare Your Base
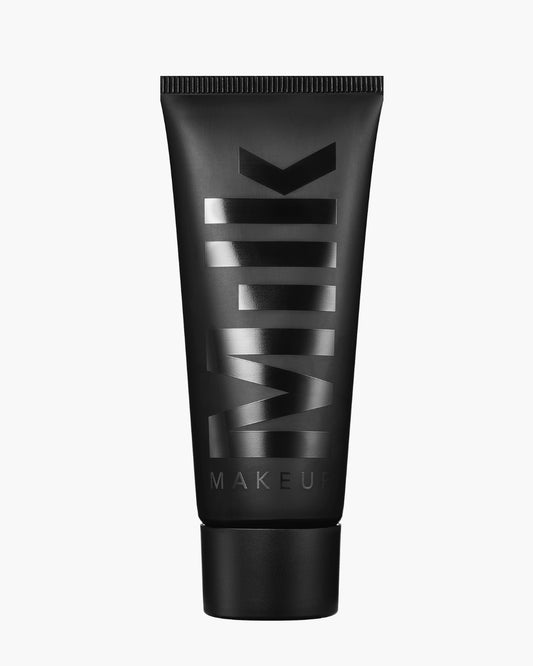
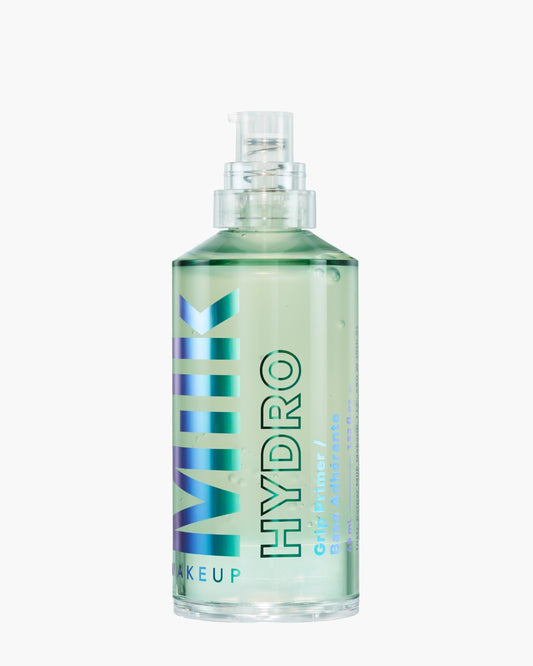
Before you even reach for concealer, you’ll want to complete most of your typical complexion makeup routine. Sara likes to start off by prepping her skin with our Hydro Grip Primer. After all, this concealer hack is all about dewy, bouncy, super smooth skin—this award-winning primer packs just the punch you’ll need courtesy of hydrating hyaluronic acid,hemp-derived cannabis seed extract, and glow-inducing niacinamide.
Then, you can proceed with your go-to foundation—or skip it if it’s not your vibe.
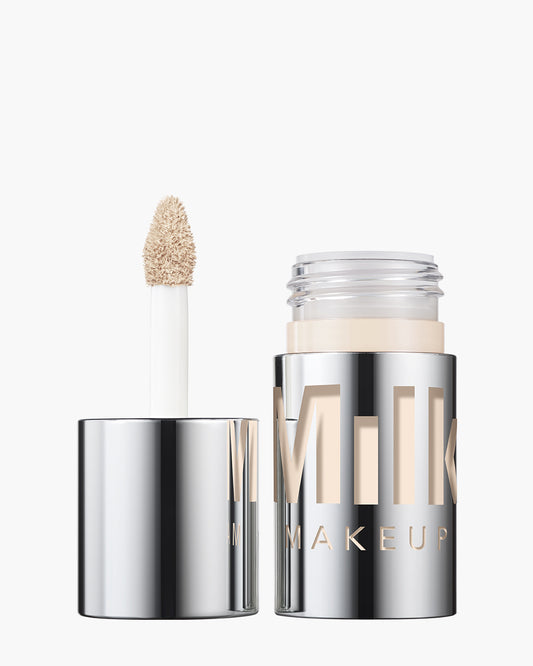
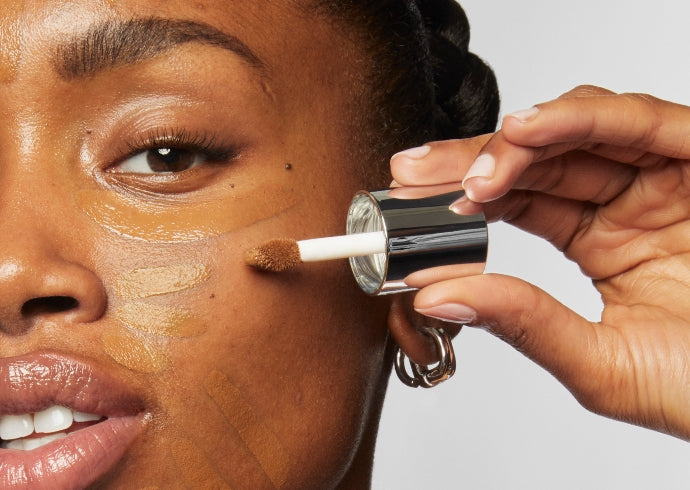
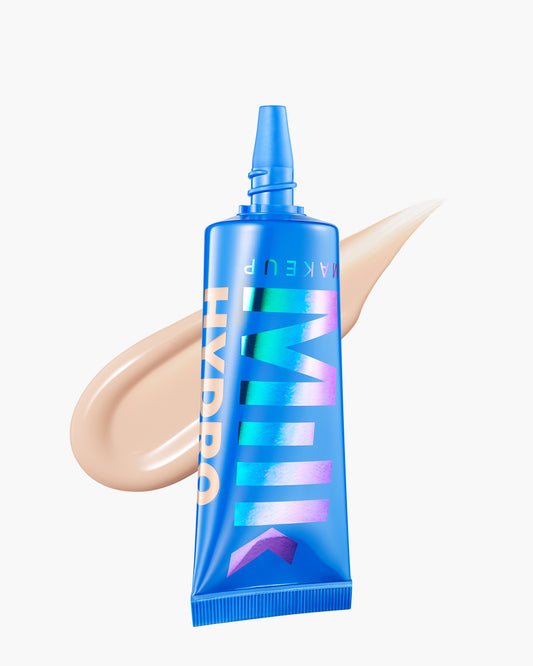
Plot Out Your LiftNow, you’ll need a concealer, like our Future Fluid All Over Cream Concealer, one shade lighter than your natural skin tone. Its seamless, second-skin finish is perfect for ensuring the lifting effect you create looks as natural and luminous as possible. First, Sara dots concealer below the inner corners of her eyes. Then, she swipes some on at a slant along the outer corners of her eyes—kind of like you would do with winged liner. She adds diagonal lines parallel to those above her brows, too. For her cheekbones, Sara creates another set of parallel diagonal lines—one angled up from her nostrils and another from the outer corners of her lips. She also swipes some just above her jawline on either side of her face. |
 |
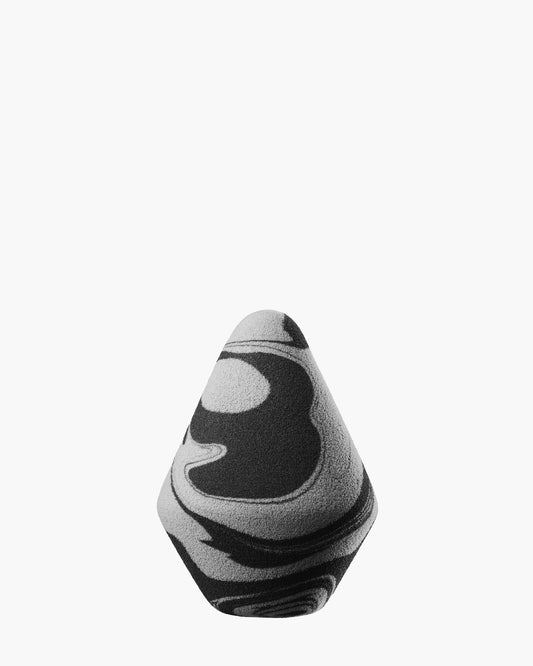
BlendTo blend all the lines into her skin, Sara grabs our Prism Sponge. Its pyramid shape mimics the applicator on our Future Fluid Concealer, making it super easy to use. The flat sides are great for melting Future Fluid into larger areas, like your cheeks and jawline, while the pointed tip is incredibly helpful for getting into those nooks and carannies around your eye area. |
 |
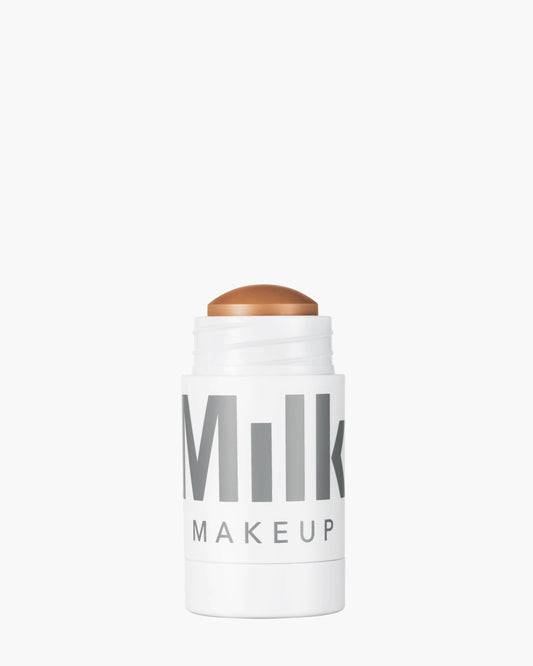
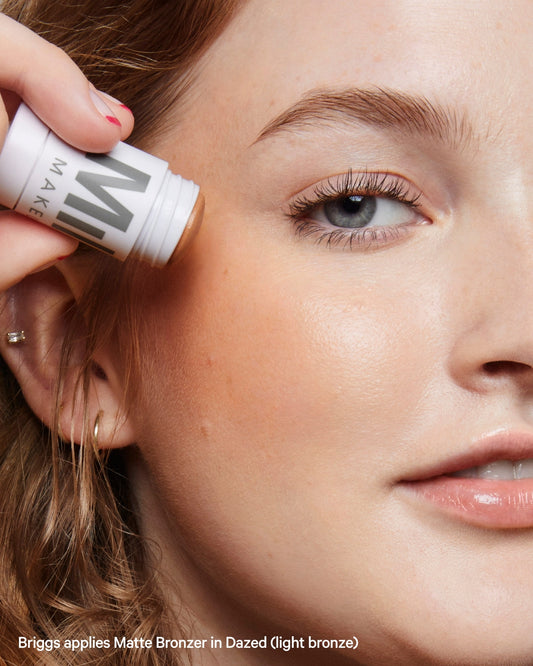
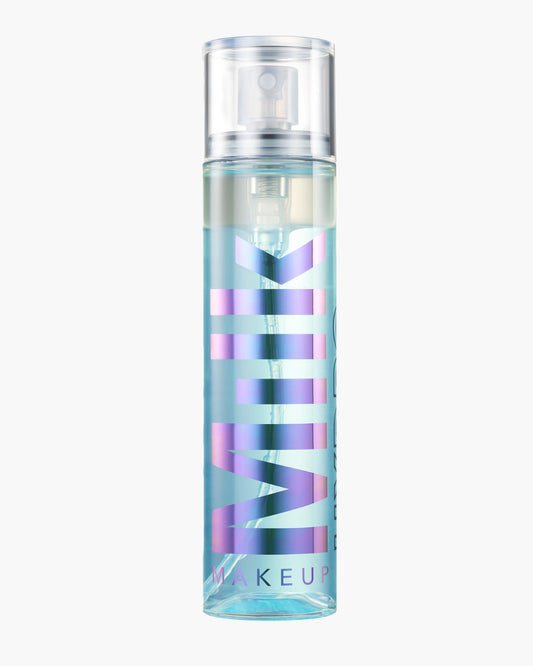
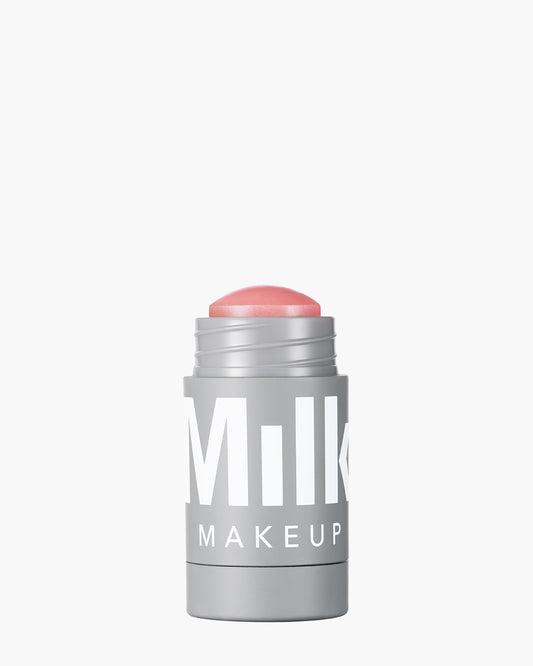
ContourTo amplify the dimension you just created with the concealer, you’ll need to contour a bit. Sara is a fan of our Matte Bronzer for the task. The creamy stick glides on and blends into skin like a dream, thanks to the mango butter and apricot oil in the formula. For this step, diagonal lines should be drawn on to the hollows of your cheeks, just below your cheekbones, as well as just above the concealer you blended out at the corner of your eyes (just under the tails of your brows), and down the sides of your nose. Then, you can blend everything out with the Prism Sponge again. To keep your makeup in place, finish with a few spritzes of our Hydro Grip Set + Refresh Spray. It seals in your look for up to 12 hours—no smudging, no budging. |
 |
Meet The Expert
Sara Wren (she/her) is the Director of Artistry at Milk Makeup. In her role, she does all the makeup artistry and direction for our Milk Makeup global campaigns, educates the staff and field team on application methods, stars in the brand’s social media videos, and travels to different markets spreading Milk Makeup’s good vibes. When she’s not on set, Sara loves experimenting with DIY hair colors, eating tacos, watching basketball, and scouring for vintage cosmetics to add to her impressive collection.
-%E2%80%A2-Instagram-photos-and-videos-v1708111858385.png?309x309) "
"